
Follow the slipper manufacturing process from material preparation and upper production to assembly, inspection, and packing. Understand the key decisions and approval points for OEM/ODM orders.
Before production begins, confirm the approved sample or agreed specifications, order and packaging details, and approval and inspection requirements. These provide a shared reference for production and quality checks.
Approved sample or agreed specifications, size range, colors, upper and lining, padding, outsole, and construction direction.
Quantity and size/color breakdown, logo artwork, labels, retail packaging, carton requirements, and requested delivery timing.
Required approvals, agreed inspection criteria, target-market needs, and any project-specific tests or revisions.
Still choosing a starting point? Review our custom slipper development services.
Use these stages as a guide to production planning. Operations may overlap or occur in a different order depending on the material, design, decoration, and assembly method.
STAGE 01
Start with the product direction and the approved reference. Confirm the size range, materials, outsole, construction, branding, packaging, and quantity before moving into bulk production.
An approved sample helps align appearance and construction with the documented requirements. Outstanding changes, testing needs, or buyer approvals should be resolved as part of the production plan.
BUYER CONFIRMATION
STAGE 02
Prepare the upper fabric, lining, padding, insoles, outsoles, thread, and other components specified for the project. Material choices need to work together with the selected slipper construction.
Custom colors, trims, labels, packaging, and new outsole tooling can affect preparation time. Confirm available materials and any substitutions before production rather than relying on a material name alone.
BUYER CONFIRMATION
STAGE 03
Upper, lining, and padding components are cut and prepared according to the product pattern and size requirements. The component shapes and allowances need to suit the planned sewing and assembly method.
Pattern placement, paired components, and the direction of visible textures or prints may need additional attention. The exact preparation steps depend on the materials and design.
BUYER CONFIRMATION
STAGE 04
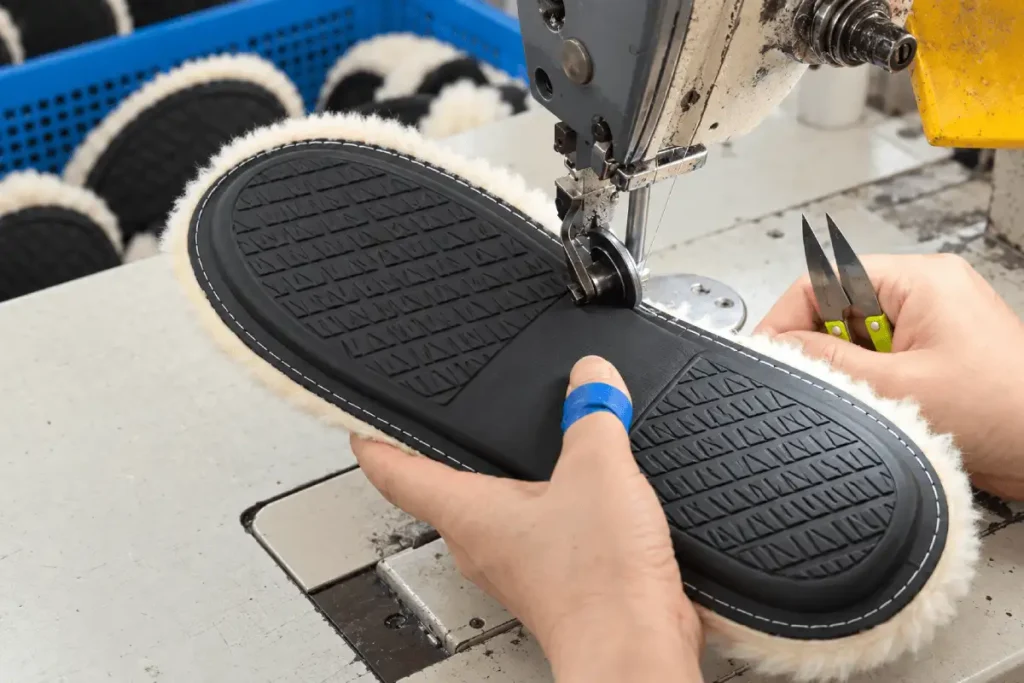
The prepared upper components are sewn together with the required lining, padding, binding, and decorative details. Logo applications and labels follow the confirmed artwork and placement requirements.
Printing, embroidery, and some decorative operations may take place before the upper is fully sewn. Their position in the workflow varies by design; not every slipper follows an identical sequence.
BUYER CONFIRMATION
STAGE 05
The upper and outsole are joined using the construction direction agreed for the project. UTOP works with welt-stitched, side-stitched, and cold-cemented slipper construction.
Outsole geometry, upper materials, seam allowances, and the connection method must be considered together. A stitched connection and an adhesive-bonded connection require different preparation and assembly controls.
BUYER CONFIRMATION
STAGE 06
Review the finished slippers against the confirmed sample and agreed inspection requirements. Packing should follow the approved size/color breakdown, labeling, retail packaging, carton, and shipment preparation instructions.
Inspection scope and any target-market testing need to be agreed for the order. Shipment preparation is a separate planning step; the production timeline does not automatically include freight or customs clearance.
BUYER CONFIRMATION
These methods describe how the upper is joined to the outsole. Each method requires compatible upper and outsole specifications, preparation steps, and assembly controls.
A stitched construction direction that can be developed with TPR or EVA outsoles at UTOP. The upper, outsole, stitching, and allowances must be specified together.
A side-stitched upper-to-sole connection, typically paired with TPR outsoles at UTOP. Outsole structure and the stitching direction need to match the product.
An adhesive-bonded connection, commonly paired with EVA at UTOP. TPR bonding is also possible with suitable surface preparation, adhesive, and pressing conditions.
Explore construction options in OEM/ODM Solutions.
Performance must be evaluated for the actual materials, specifications, and use conditions.
Agree on the inspection scope, acceptance criteria, and any required testing before production. Use the approved sample and documented specifications as the reference for quality checks.
Sample-stage outsole checks can include material, color, odor, weight, thickness, hardness feel, dimensions, flatness, tread, pairing, and flex position.
Review upper-to-sole alignment, stitching or bonding quality, left/right matching, visible details, and agreed dimensions. Bulk checks can include weight, hardness, dimensions, or flex according to the confirmed sample and buyer requirements.
Confirm any required slip-resistance, abrasion, or chemical testing for the target market and order. Review branding, labels, packing quantities, and carton markings against the approved requirements.
For regular custom slipper projects, sampling typically takes 7–14 days. Materials, new outsole tooling, revisions, decoration, and testing requirements may affect the schedule.
For regular custom slipper projects, bulk production typically takes 30–45 days after sample approval and other required approvals. Actual timing depends on order quantity, material preparation, construction, branding, and packaging.
These are planning ranges, not guaranteed delivery dates. Confirm the starting conditions, outstanding approvals, and shipment plan for the specific order. Freight and customs lead times should be considered separately.
You do not need every detail finalized before contacting UTOP. Share what you have so we can review your requirements and identify the remaining production decisions.
Product references: reference images, a physical sample, or a tech pack
Order details: estimated quantity and size/color breakdown
Materials and construction: preferred upper, lining, padding, outsole, and construction method
Branding: logo artwork, placement, labels, and private-label details
Packaging: retail packaging, carton markings, and shipment preparation requirements
Market and timing: target market, inspection or testing requirements, and requested schedule
No. Material preparation, decorative work, sewing, and assembly vary with the product design and connection method. The six stages above are a general production overview, not a fixed sequence for every style.
Confirm the sample and the required product specifications, size/color breakdown, quantity, branding, packaging, and any inspection or testing requirements. The necessary approvals depend on the project.
Yes. UTOP can work with both molded TPR and cut-sheet EVA outsoles. The choice depends on the product design, construction method, and buyer requirements. Material names alone do not determine price or performance.
For regular custom slipper projects, sampling typically takes 7–14 days. Bulk production typically takes 30–45 days after sample approval and other necessary approvals. Materials, tooling, revisions, testing, quantity, branding, and packaging can change the schedule; confirm timing for the specific order.
Discuss appearance, dimensions, outsole specifications, left/right matching, upper-to-sole connection, branding, and packaging. Agree on any weight, hardness, or flex checks against the approved sample and buyer requirements. Any slip-resistance, abrasion, or chemical testing should be confirmed for the specific product and target market.
Share a style reference, sample, or tech pack, along with your estimated quantity and target market. We’ll review the available information and help clarify the specifications and next steps for your OEM/ODM project.