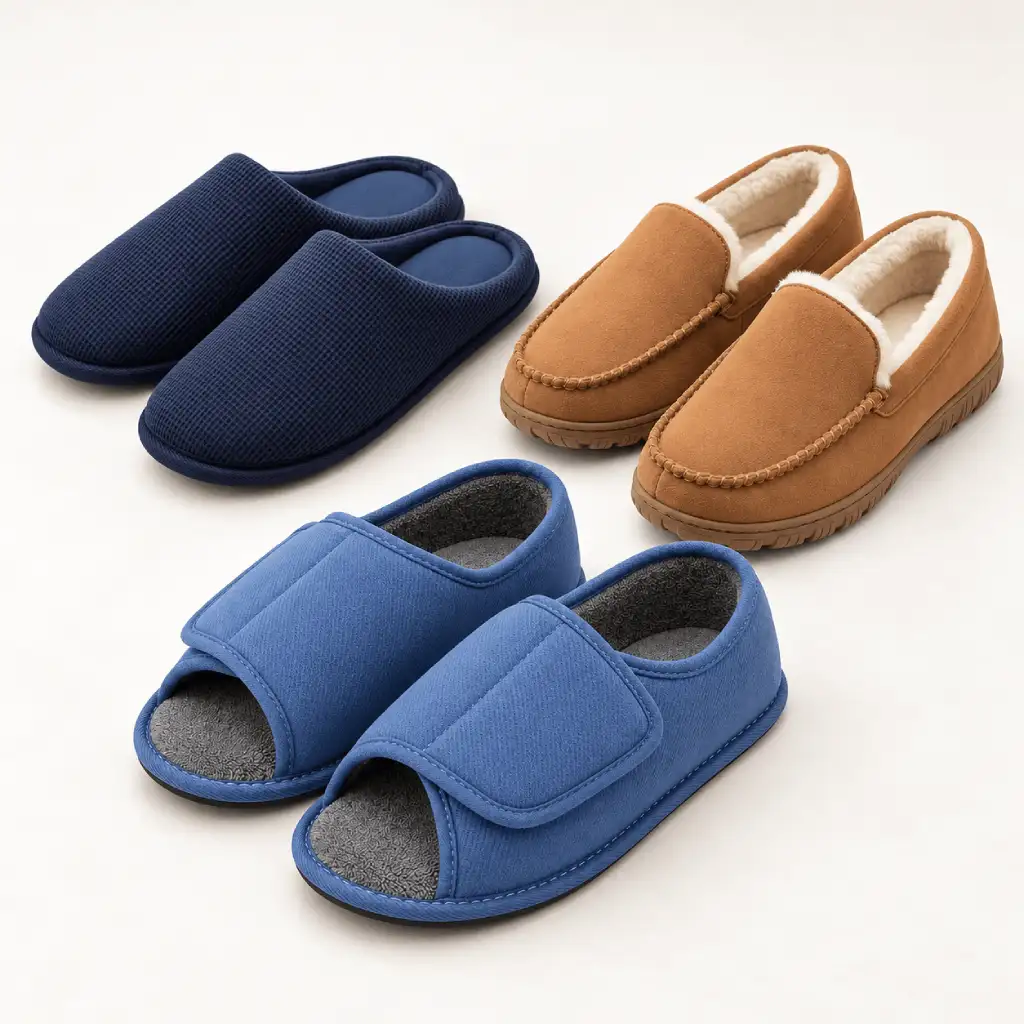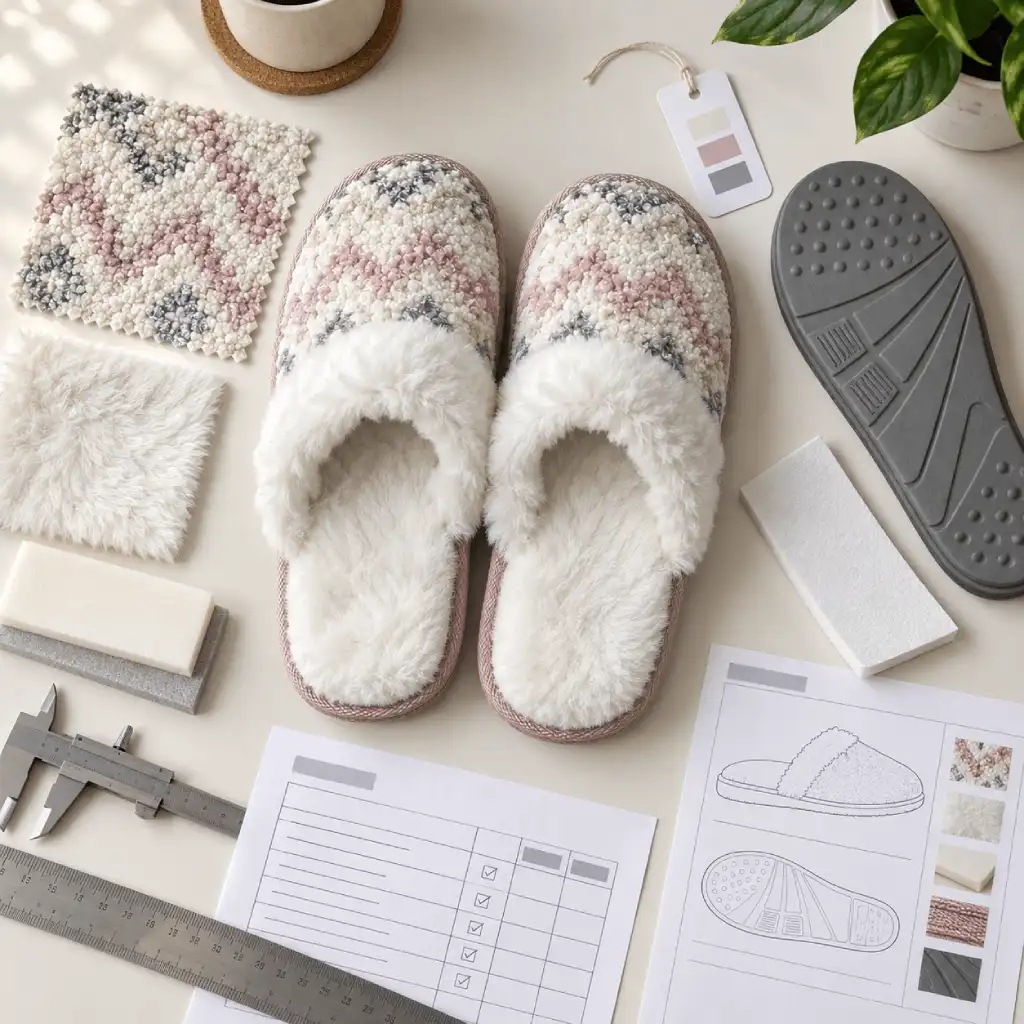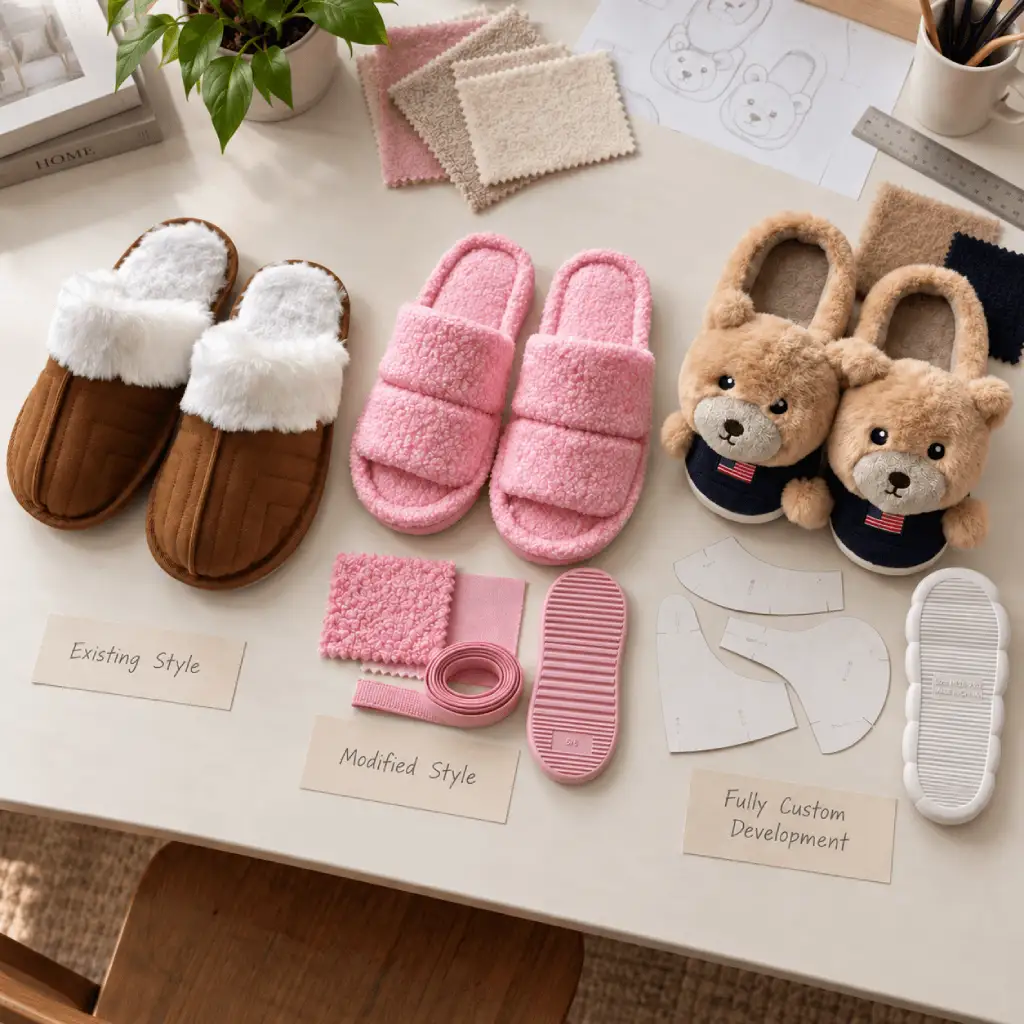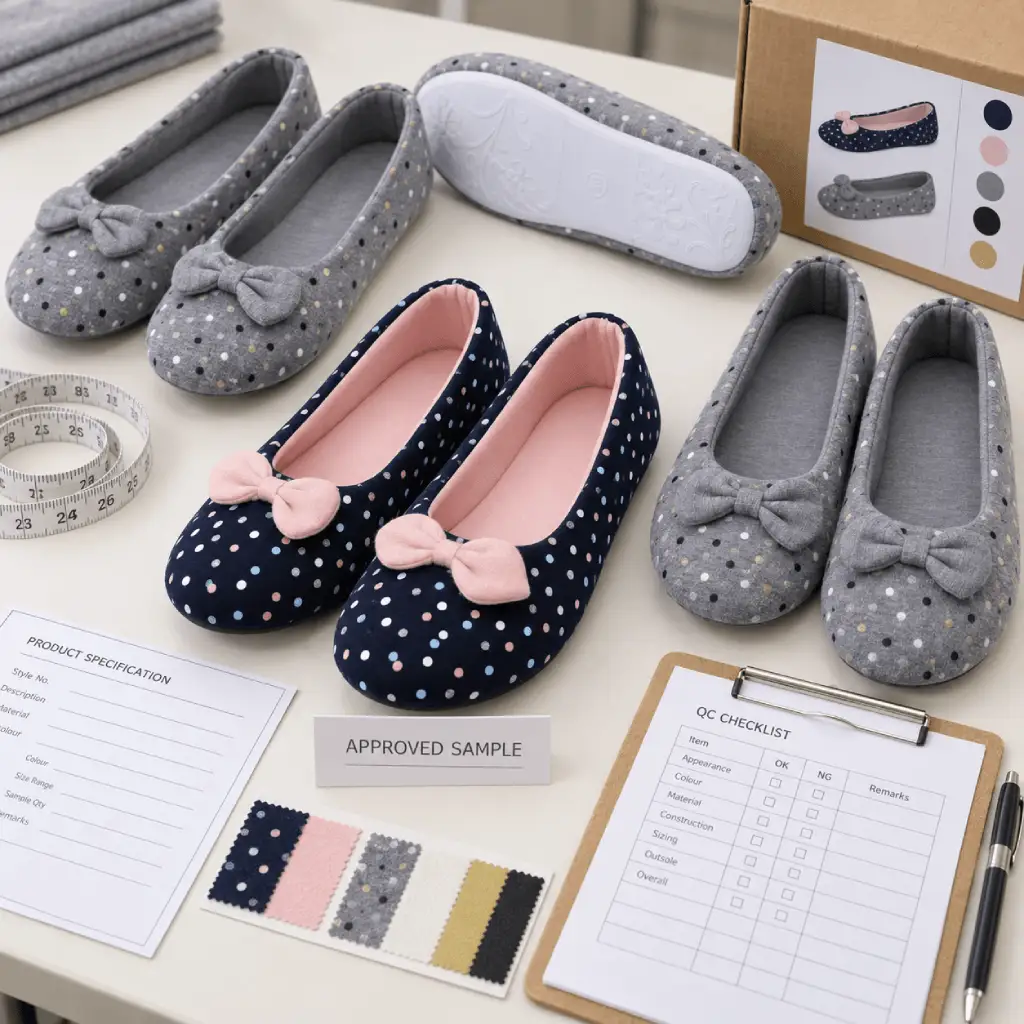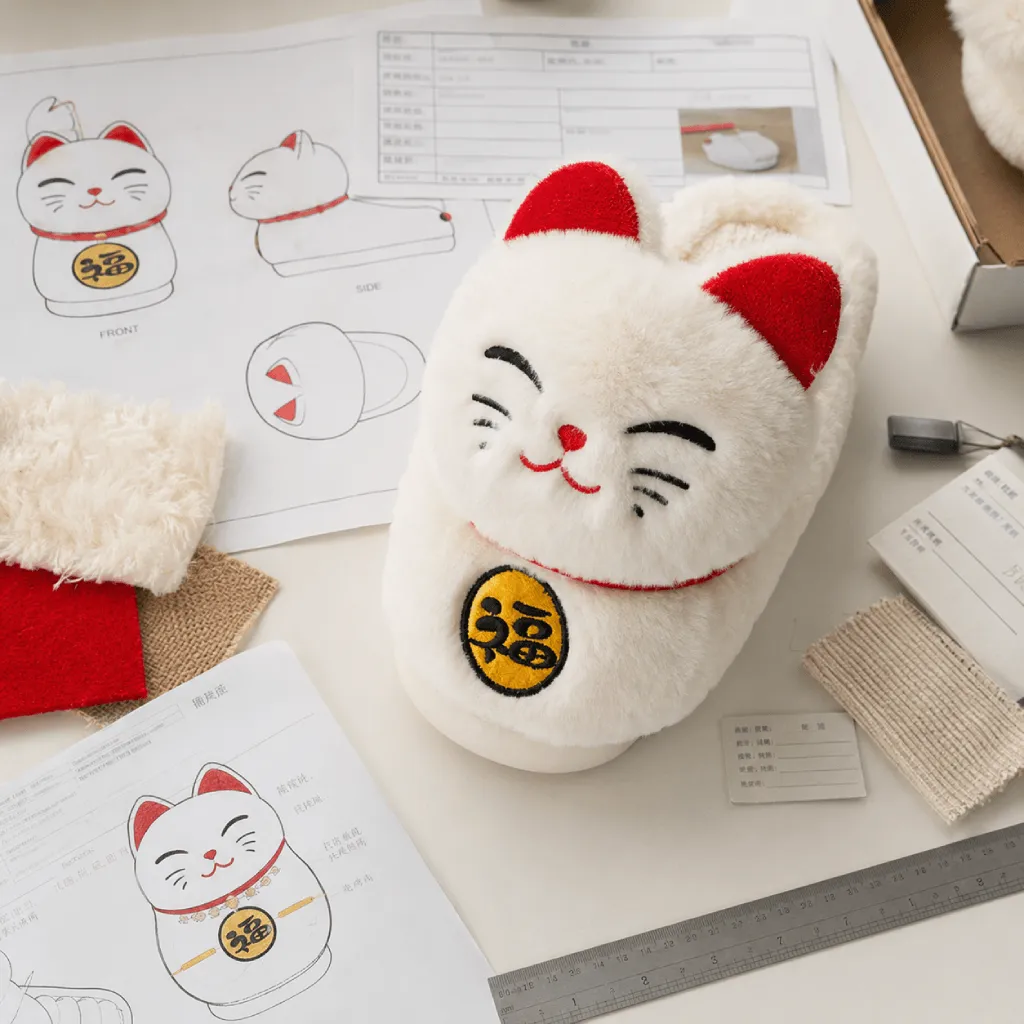
Welt-stitched slippers are easy to recognize by their finished edge and visible stitch line. For a buyer, however, the useful question is not whether the stitching looks “premium.” It is whether the upper, welt, thread, bottom and attachment process have been specified as one workable system.
That distinction matters in custom development. A neat sample can still leave unanswered questions about what the stitch passes through, how the seam will be controlled across sizes, whether the bottom is TPR or EVA, and which details will be checked again during bulk production. Those questions should be resolved before the approved sample becomes the production reference.
This guide explains the welt-stitched slipper construction used in UTOP product development, separates it from stitchdown, traditional Goodyear welt, side stitching and cold bonding, and turns the construction into practical sampling and quality-control decisions. It is written for brands, importers, wholesalers and sourcing teams preparing a custom or private-label order.
Buyer takeaway: approve the connection as a specification, not as a decorative impression. Define the construction, materials, stitch path, visual standard, dimensions and inspection method together, then use the same controlled references for samples and bulk production.
Scope of this article: the focus is welt construction and the upper-to-bottom connection. For full-order inspection planning, use UTOP’s Footwear Quality Control Guide. For a deeper material comparison, see the TPR vs. EVA Sole Guide.
Terminology note: “welt-stitched” is used here for the specific slipper construction described in Chapter 1. It should not be treated as a substitute term for every shoe with visible edge stitching.
Written by the UTOP Slippers Sourcing Team, with product-development and production input from our indoor slipper manufacturing team.
1. What Welt-Stitched Construction Actually Means
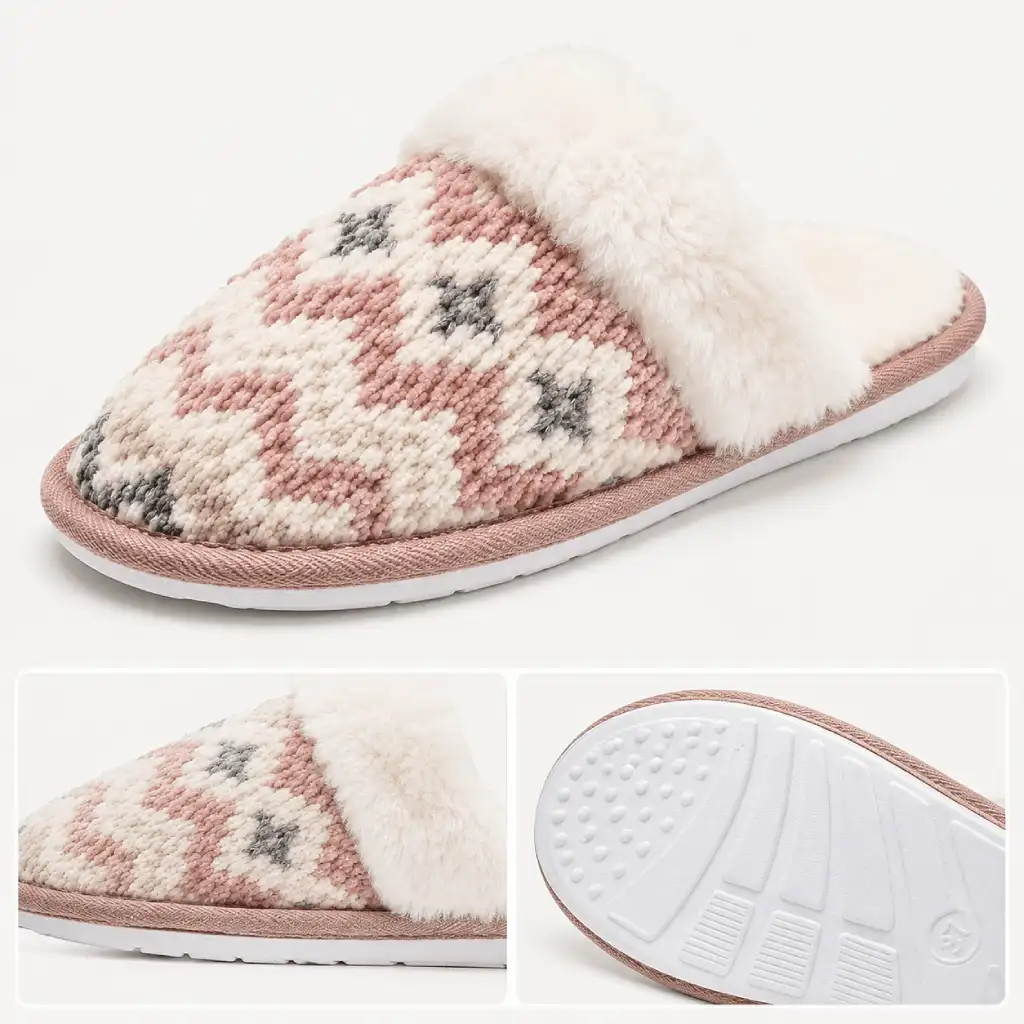
In UTOP’s slipper product documents, welt-stitched construction uses a separate welt around the edge of the slipper. The sewing line joins the welt, the edge of the upper and the bottom or sole assembly in the approved construction. The welt is therefore a working component of the edge connection, not simply a printed line or a decorative cord laid on top.
The exact stack can vary with the design. A soft house shoe may use a textile upper, cushioning layers, an insole board or bottom layer, a textile welt and a TPR or EVA outsole. That is why a written construction name should be accompanied by a sample, section drawing or clear underside and edge photographs. The name alone does not show every layer the needle passes through.
| Part of the connection | What the buyer should define | Why it matters |
|---|---|---|
| Upper edge | Material, reinforcement, seam allowance and edge preparation | The stitch needs a stable path without cutting too close to a weak or fraying edge. |
| Welt | Material, width, thickness, color, texture and join appearance | It controls the visible border and affects how the stitch sits around curves. |
| Thread and stitch | Thread direction, color, stitch spacing, edge distance, start/stop and finish | These details determine both the visual rhythm and the repeatability of the seam. |
| Bottom assembly | Layer sequence, TPR or EVA direction, dimensions, surface preparation and any bonding step | The seam must work with the selected material and the rest of the attachment process. |
A visible stitch is evidence of a process, not a performance claim
A straight, even line is a useful workmanship signal, but it does not prove how the slipper will perform in use. Connection reliability still depends on the upper material, outsole or bottom material, thread, stitch spacing, edge distance, tear resistance, flex location, bonding where used and overall design. A welt-stitched slipper specification should therefore combine appearance criteria with construction and material criteria.
Ask for one unambiguous reference: a marked cross-section or sample photo showing the separate welt, upper edge, stitch path and sole assembly. This is more useful than approving a distant side-view image that only shows the finished border.
The practical purpose of this definition is simple: the buyer, developer, sample room and production line should all be discussing the same welt-stitched slipper construction. Once the connection is clear, the team can set realistic specifications and inspection points.
2. Welt-Stitched, Stitchdown, Goodyear Welt, Side-Stitched and Cold-Glued
Several slipper and shoe constructions can show stitching near the sole. They are not automatically the same. Before a quotation or sample is approved, use the construction drawing and physical product to confirm how the upper is connected to the bottom.
| Construction | Connection logic | Typical visual cue | Buyer implication |
|---|---|---|---|
| UTOP welt-stitched slipper | A separate welt, upper edge and bottom assembly are joined through the approved stitch path. | A defined border around the perimeter with visible, regularly spaced stitching. | Specify the welt as a component and control the complete connection line. |
| Stitchdown | The lower margin of the upper is turned outward and stitched to the bottom structure. | The flared upper margin forms the edge being stitched; a separate welt may not perform that role. | Do not approve it only because the stitch line resembles the requested welt style. |
| Traditional Goodyear welt | In classic footwear, one seam connects the welt to the upper and insole structure, and another connects the outsole to the welt. | A structured shoe bottom with a welt and a separate outsole-stitching operation. | Do not describe a soft indoor slipper as Goodyear-welted unless it genuinely uses that construction. |
| Side-stitched | The upper is sewn to the sidewall area of a molded outsole through a defined side stitch path. | Thread enters the side of the outsole rather than forming a separate perimeter welt. | Check molded sidewall geometry, preformed holes where applicable, alignment and thread finishing. |
| Cold-glued | The upper and bottom are attached through a compatible preparation, adhesive, pressing and curing process. | Usually a clean edge without a structural stitch line, although decorative stitching may be present elsewhere. | Define bonding materials and process around the actual upper and outsole combination. |
These descriptions identify the main connection principle; actual layer sequences can differ by design. For sourcing work, the safest language is “construction shown in approved sample and section drawing,” followed by the specific component and stitch details.
Why the distinction affects costing and quality control
Different construction methods use different components, tooling, machine paths and inspection points. A side-stitched molded outsole cannot be evaluated with exactly the same checklist as a welted slipper construction. A cold-glued edge needs process controls that a purely visual stitch review will miss. Traditional Goodyear welt terminology can also send a supplier toward a much heavier shoe-making process than the buyer intended.
Clear terminology reduces rework in three places: the supplier quotes the intended build, the sample room makes the intended connection, and the inspector checks the right interface. It also prevents a common catalog problem—using “welt,” “stitchdown” and “side stitch” as interchangeable style words when they describe different product structures.
3. When Welt-Stitched Slippers Fit a Product Program
Welt-stitched slippers make sense when the visible edge is part of the product identity and the chosen upper, welt and bottom can be developed as a repeatable construction. They are not the default answer for every indoor slipper, nor should they be selected only because “stitched” sounds stronger than “glued.”
Good reasons to consider this direction
- A defined edge is part of the design. The welt can frame a felt, textile, corduroy, plush or printed upper and make the side profile more deliberate.
- The buyer wants a visible construction cue. Thread color and spacing can support the brand’s visual language without pretending to be a performance certificate.
- The component combination supports the stitch path. The upper edge, welt and bottom need enough stability and space for the intended seam.
- The supplier can hold the appearance across sizes. Curves, toe shape, heel transition and welt join should remain controlled as the pattern and bottom change.
- The approved sample will be used as a production reference. The buyer is willing to sign off the construction details, not just the color and logo.
Reasons to review another construction
A very light cut-sole product, a minimal edge with no visible seam, a molded sidewall designed for side stitching, or a price point that cannot support the intended component and sewing operations may point toward another build. The correct choice comes from the whole project: target user, upper material, outsole, shape, appearance, quantity, tooling, quality standard and required testing.
Commercial decision rule: compare approved constructions at equivalent specifications. A different upper, outsole, thickness, density, tread, branding method or packing format can change the quotation more than the construction label by itself.
For a real product reference, UTOP’s Boys Gamer Welt-Stitched Slippers (UT-CS1019) show how a contrasting perimeter welt and stitch can become part of a children’s house-shoe design. The page URL retains an older “stitchdown” slug, while the current product title and construction identify the style as welt-stitched.
Use such a product as a direction, not as a universal specification. A new custom welt-stitched slipper still needs its own material combination, size set, artwork, bottom and sample approval.
4. Build the Slipper Specification Before Sampling
A useful welt-stitched slipper specification tells the sample room what to build and tells the quality team what to verify later. “Same as photo” is not enough. Photos can communicate the mood and silhouette, but they rarely show the layer sequence, stitch path, dimensions or acceptable variation.
| Specification field | Details to confirm | Approval reference |
|---|---|---|
| Construction | Named construction plus section drawing or marked sample photo showing what the stitch joins | Construction drawing and approved physical sample |
| Upper and lining | Material identity, color, weight or thickness when critical, backing, lining, reinforcement and seam allowance | Approved swatches, bill of materials and sample |
| Welt | Material, finished width, thickness, color, texture, location and join treatment | Material reference and close-up approval photo |
| Thread and stitch path | Thread direction and color, stitch spacing, edge distance, start/stop, back-tacking or finish, and acceptable tension appearance | Drawing, close-up standard and approved sample |
| Bottom and outsole | TPR or EVA direction, dimensions, thickness, hardness or density direction when specified, color, tread, flex location and tooling | Outsole drawing, material reference and size set |
| Additional attachment process | Surface preparation, adhesive, pressing or other steps where the design also uses bonding | Approved process direction for the selected materials |
| Size and tolerances | Size range, grading, measurement points, permitted variation, pair matching and label logic | Approved size specification and size set |
| Branding and packing | Logo method and placement, labels, barcode, individual pack, assortment and carton requirements | Artwork, packed sample and purchase order |
The buyer does not need to invent technical values without evidence. During development, the supplier can propose workable ranges based on the actual materials and equipment. What matters is that the final values and visual limits are recorded after sample review and before bulk production.
Keep the latest construction drawing, material list, artwork, dimensions and sample comments under revision control. UTOP’s Shoe Tech Pack Guide explains how to organize those files so that an outdated attachment does not quietly become the production instruction.
Do not set one universal stitch tolerance for every style. The workable spacing and edge distance depend on the welt width, upper material, bottom material, curve geometry, thread and production method. Approve values for the actual construction.
5. Choose the Bottom: TPR, EVA and the Attachment System
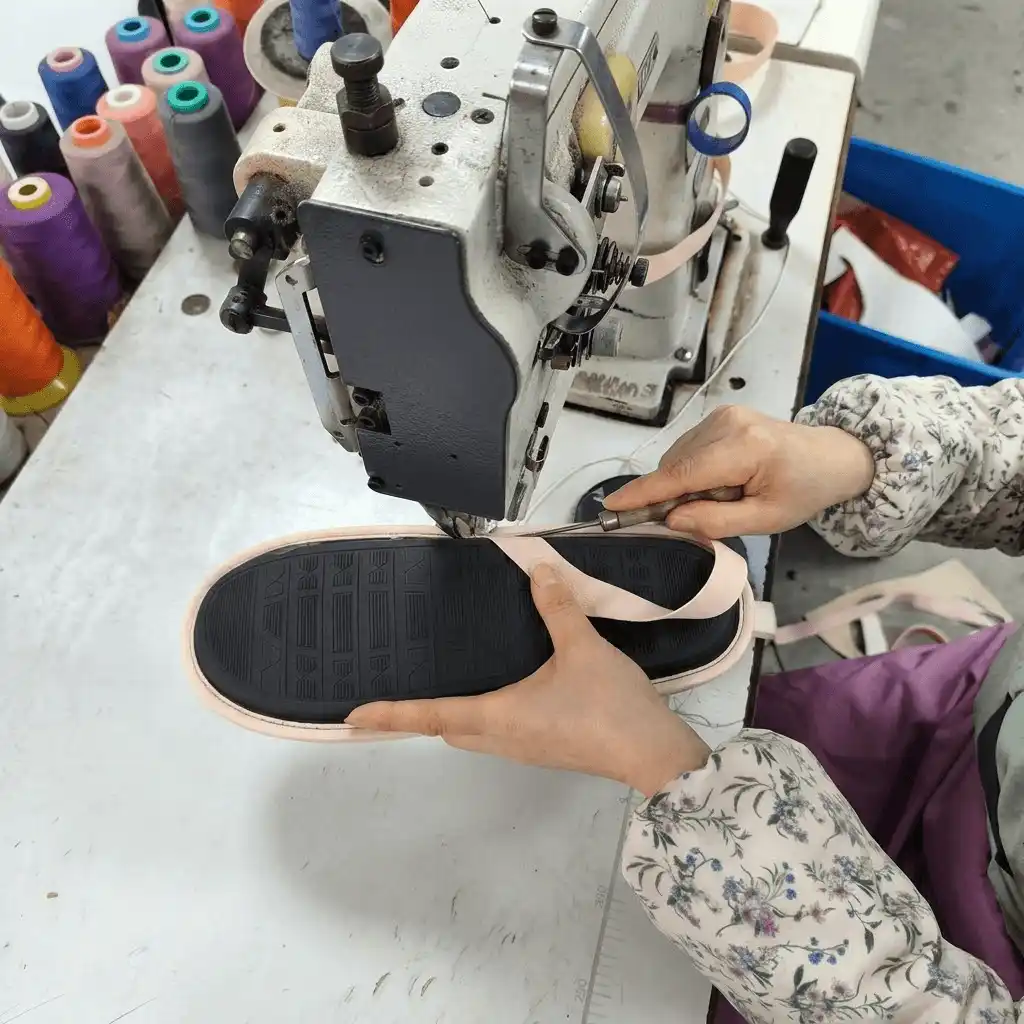
At UTOP, a welt-stitched slipper construction can commonly be developed with a TPR or EVA bottom. The material name does not determine the complete result. Formulation, hardness or density, thickness, outsole geometry, tread, flex location, upper design and attachment process all influence the finished slipper.
| Development point | Molded TPR direction | EVA direction |
|---|---|---|
| Component format | Usually a molded outsole with defined sidewall, tread and size geometry | Often cut or shaped from sheet or prepared bottom material, depending on the design |
| Customization | Color, hardness direction, tread and molded details can be customized; a new shape or tread may require tooling | Color, thickness, density or hardness direction, shape and surface treatment can be specified |
| Connection review | Confirm sidewall or edge geometry, stitch path, flex area and any surface preparation or bonding used | Confirm edge quality, thickness, compression around the seam, stitch path and any bonding layer |
| Approval evidence | Approved outsole or size set, dimensions, weight or hardness direction when specified, tread and finished sample | Approved material, thickness, density or hardness direction when specified, dimensions and finished sample |
Neither material is automatically more slip resistant, more durable or less expensive. Those conclusions require the actual specification, supplier quotation and, where relevant, a defined test method and acceptance criterion. The TPR vs. EVA Sole for Slippers Guide covers the material decision in more depth.
Stitching does not make the rest of the attachment process optional
Some designs use stitching together with bonding or other preparation steps. In that case, the seam and the bond should be treated as parts of one slipper sole attachment system. The factory still needs the correct surface preparation, compatible adhesive, pressing and curing direction for the materials involved. A visible stitch should not be used to hide an open edge or replace a required bonding operation.
Outsole tread should also be approved as a design and specification item. It is reasonable to inspect whether the bulk tread matches the approved outsole; it is not reasonable to declare a sole slip resistant from the pattern alone. For intended surfaces, claims and testing limits, see UTOP’s Slip-Resistant Outsole Guide.
6. Review the First Sample at the Connection Line
A first sample is where the welt-stitched slipper specification meets real materials. Review it in good light, on a flat surface and with the latest comments beside it. A distant approval photo may be enough for color direction; it is not enough for a construction sign-off.
Start with the seam, but do not stop there
- Confirm the layer sequence. Compare the sample with the section drawing or ask for clear edge and underside photographs showing what the stitch joins.
- Follow the complete perimeter. Look for skipped, broken, doubled or unusually loose stitches, abrupt spacing changes and untidy thread ends.
- Check the welt position. The visible width should follow the approved design around the toe, sides and heel without twisting, rolling or creating a bulky join.
- Review the upper-to-bottom alignment. The upper should sit in the intended position on the bottom, with the left and right shoes presenting as a pair.
- Flex the sample at the intended forepart. Observe the stitch line, edge and any bonded area for gaping, distortion or concentrated stress. This is a development check, not a substitute for a specified laboratory test.
- Review the whole bottom. Compare material, color, odor, weight or thickness when specified, hardness feel, length, width, flatness, tread, pairing and flex position.
- Check size and fit direction. Confirm measurement points, internal space, opening and size progression with the approved size plan.
| Sample decision | Record | Next action |
|---|---|---|
| Approved | Sample ID, date, specification revision and any agreed natural variation | Seal or identify the controlled sample and release the same revision to production |
| Approved with comments | Exactly which changes may be made without another full sample | Obtain close-up evidence or a confirmation sample for the changed area as agreed |
| Revise and resubmit | Marked photos, measurements, construction comments and priority | Correct the specification or process and submit a traceable new version |
Avoid comments such as “make the stitch nicer.” Mark the exact area and state whether the issue is spacing, edge distance, tension appearance, welt width, join position, alignment or pair consistency. The more specific the comment, the less room there is for a different interpretation in bulk.
For measurement and grading planning, use the Slipper Size Chart and Bulk Sizing Guide. For the wider sequence from brief through confirmation sample and production handoff, see the Custom Indoor Slipper Development Guide.
7. Turn the Approved Sample into Bulk QC Criteria
Welt-stitched slipper quality control should verify the connection at the stages where a repeated problem can still be contained. The approved sample is important, but it works best alongside a controlled specification, close-up acceptance photos and agreed measurement or visual limits.
| Stage | Construction checks | Useful evidence | If a repeated issue appears |
|---|---|---|---|
| Incoming components | Correct upper material, welt, thread, bottom, color, size and component condition | Approved swatches, outsole reference, bill of materials and component measurements | Hold the affected material and confirm scope before assembly |
| First production pieces | Layer sequence, upper-to-bottom match, stitch path, spacing, edge distance, tension appearance and welt join | Approved sample, marked detail photos and first-piece record | Stop and adjust the material, guide, machine setting, method or instruction before volume increases |
| In-process production | Continuity around the perimeter, curves, start/stop, thread ends, alignment and left-right pairing | Frequency record, size/color traceability and defect photos | Segregate affected work, identify when the issue began and correct the operation |
| Final inspection | Overall appearance, open edges, loose or broken stitches, symmetry, dimensions, bottom flatness, flex response, labels and packing | Inspection requirement, approved references, measured results and lot identification | Hold release, confirm affected quantity, sort/rework/remake as approved and reinspect |
UTOP generally performs in-process and final inspection for bulk orders. Buyer-specific AQL sampling, 100% inspection, third-party inspection or reporting formats should be confirmed before production. There is no single stitch count, edge-distance tolerance or defect limit that suits every welted slipper construction.
Match any test to the actual connection
Visual inspection can confirm workmanship and conformity; it cannot by itself prove seam strength, outsole adhesion, abrasion, slip resistance or long-term durability. The ISO/TC 216 footwear standards catalogue includes terminology, component and whole-shoe test methods. The relevant method, specimen, conditioning, acceptance value and laboratory should be selected for the buyer’s market and product—not copied from an unrelated shoe.
If a design also relies on a bonded sole interface, SATRA TM411 is one recognized method for evaluating peel strength in applicable moulded-on and stuck-on sole bonds. It should not be presented as a universal test of the welt stitch itself. Buyer-required slip, abrasion, chemical or other tests also need to be confirmed for the specific order.
Use the construction checks here with UTOP’s broader Footwear Quality Control Guide, which covers materials, dimensions, branding, packing, sampling and shipment release. Examples of issues that should be contained before shipment are also listed in the guide to Common Indoor Slipper Manufacturing Defects.
8. Common Welt-Stitching Problems and Corrective Questions
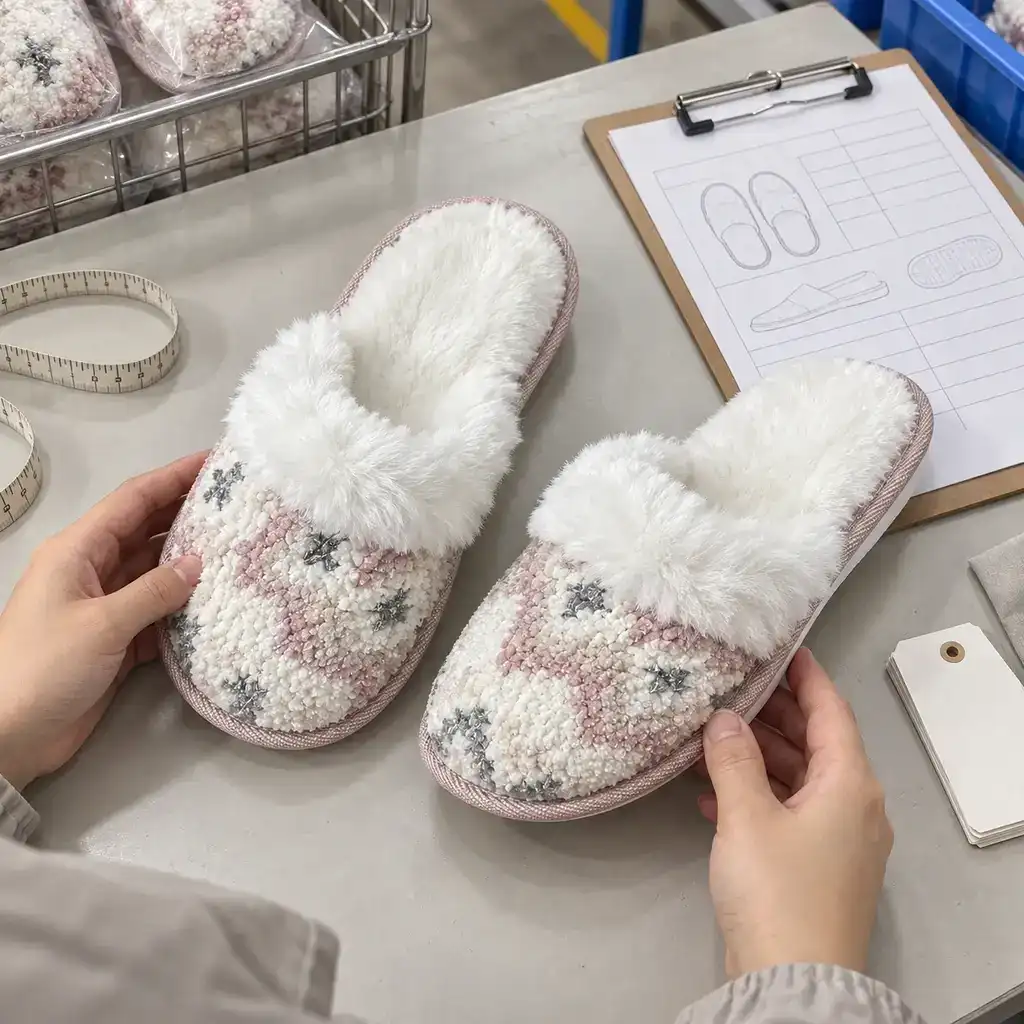
A construction defect rarely explains its own cause. A skipped stitch may come from machine setup, material handling, a damaged needle, an unstable stack or another process condition. Good corrective action starts by containing the affected work and tracing the operation—not by guessing from one finished pair.
| Observed issue | Questions to investigate | What to verify after correction |
|---|---|---|
| Skipped, broken or incomplete stitches | Is the needle, thread, machine setup and material stack suitable? Did the issue begin at a particular size, curve, operator or lot? | Full perimeter continuity, secure thread ends and affected-quantity traceability |
| Irregular spacing or wandering stitch line | Are the guide, marking, component dimensions and feeding method consistent? Is the curve too tight for the approved setting? | Spacing and edge-distance appearance against the approved close-up standard |
| Stitch too close to the edge | Is the welt width, upper seam allowance or bottom position out of specification? Did the stack shift during sewing? | Stable edge distance and no visible tearing, fraying or cut-through around the seam |
| Puckering, compression or an overly tight appearance | Is thread tension interacting poorly with the upper, welt or bottom thickness? Are layers being stretched or compressed during feeding? | Flat, controlled edge appearance and acceptable flex response without distortion |
| Bulky, twisted or poorly placed welt join | Is the join location defined? Are the cut length, overlap or finish and operator method consistent? | Join location and profile against the approved sample on both shoes |
| Upper or bottom misalignment | Do the upper and bottom sizes match? Are positioning marks, lasting or assembly steps controlled? Is the issue size-specific? | Toe, heel and side alignment plus left-right pair symmetry |
| Open edge or local separation | Does the design also require bonding? Were surface preparation, adhesive, pressing and curing correct for the materials? Is stress concentrated at one flex point? | The complete attachment system, not just an added stitch or cosmetic repair |
| Left-right or pair inconsistency | Are components mixed by size, lot or shade? Are inspection references and pairing instructions clear? | Same size, color, welt profile, stitch appearance, outsole and overall visual grade within each pair |
Use a controlled response, not a cosmetic patch
When the same problem repeats, the team should hold affected production, identify when and where the condition began, review material and process changes, correct the responsible operation, and verify new pieces before restarting at volume. Finished goods already produced need a defined sorting, rework or remake decision followed by reinspection.
Practical rule: a neat repair on one pair does not show that the cause has been removed. Corrective evidence should include both the repaired or remade product and a check that subsequent production follows the approved welt stitching standard.
9. Plan a Custom or Private-Label Project
For custom welt-stitched slippers, the first useful conversation is about the product rather than a single unit price. A supplier needs enough information to understand the upper, welt, bottom, sizes, branding, packing, destination and quality requirements. Without that context, two quotations may describe visibly similar slippers that use different materials or construction details.
Buyer inputs
- Reference design or product brief
- Target market, user and retail position
- Materials, colors, size range and quantity
- Logo files, labels and packaging direction
- Required tests, inspection and reporting
- Target timing and approval contacts
Supplier outputs to confirm
- Proposed construction and material options
- Welt, thread and sole attachment details
- Tooling or mold requirements where applicable
- Sample scope, cost, timing and approval stages
- Quotation assumptions and bulk lead-time basis
- QC checkpoints and buyer-required evidence
UTOP’s regular custom slipper samples generally take about 7–14 days. New materials, tooling, repeated revisions or buyer-required tests can extend that schedule. After the required sample and other approvals, bulk production is generally about 30–45 days, but the actual timing depends on materials, quantity, size range, branding, packaging, testing and the production plan.
A private-label welt-stitched slipper can include custom upper materials and colors, welt and thread direction, outsole color and tread, size labels, logos, packaging and carton marks. A custom molded outsole may require tooling. These choices should be costed together because a “small” visual change can alter material minimums, process steps or approval timing.
For a broader commercial overview, read the Private Label Indoor Slippers Manufacturing Guide. It explains supplier communication, samples, branding and production planning beyond the construction-specific points covered here.
Quote comparison tip: ask each supplier to state the upper, lining, cushioning, welt, thread, bottom, construction, size range, branding, packing and inspection assumptions. A lower figure is not comparable if the underlying specification is different.
10. Buyer RFQ and Pre-Production Checklist
A strong RFQ gives the supplier room to propose a workable construction while keeping the commercial comparison clear. Before requesting a quote for private-label welt-stitched slippers, prepare the information below or identify which items need supplier input.
- Target product, end user, destination market and expected use
- Reference image, drawing or existing sample, with features to keep or change
- Clear request for welt-stitched construction and a marked section or stitch-path confirmation
- Upper, lining, cushioning and insole material direction
- Welt material, visible width, color, texture and preferred join position
- Thread color and the appearance expected for spacing, edge distance and finish
- TPR or EVA bottom direction, color, tread, thickness, hardness or density direction and tooling needs
- Size range, size conversion, measurement points, grading and pair-matching expectations
- Logo, label, barcode, individual packaging, assortment and carton requirements
- Order quantity by style, color and size
- Required sample stages, laboratory tests, inspection method and report format
- Target approval date, delivery window, shipping destination and trade terms
Before bulk production starts
| Control item | Question to close | Evidence |
|---|---|---|
| Approved product | Which sample and revision control the order? | Identified physical sample, approval date and final comments |
| Materials and artwork | Are all colors, materials, logos and labels approved? | Final swatches, artwork and bill of materials |
| Construction standard | Are the stitch path and visible acceptance limits understood? | Section drawing, close-up photos and approved sample |
| Size and inspection | Are measurements, tolerances, sampling, defect rules and release authority agreed? | Size specification and inspection requirement |
| Testing and compliance | Which market, buyer and product requirements apply to this exact order? | Confirmed test plan, method, sample, limits and report scope where required |
| Packing and shipment | Do the physical product, labels, barcodes, assortment and carton marks use the same SKU logic? | Packed sample, packing instruction and purchase order |
If some fields are still open, label them as supplier proposals rather than leaving them invisible. UTOP can review a reference sample, drawing or product brief and suggest a suitable welt, outsole and development route for the intended slipper.
11. Frequently Asked Questions and Final Takeaway
What are welt-stitched slippers?
In the construction described by UTOP, a separate welt runs around the slipper edge and the sewing line joins the welt, upper edge and bottom or sole assembly according to the approved build. A section drawing or sample should confirm the exact layer sequence.
Is a welt-stitched slipper the same as a Goodyear-welted shoe?
No. Traditional Goodyear-welted footwear normally uses a structured insole-and-welt system and a separate outsole stitch. The soft slipper construction in this guide should not be marketed as Goodyear welt unless it genuinely uses that method.
Are welt-stitched slippers automatically stronger than glued slippers?
No automatic ranking is reliable. Performance depends on the complete design: upper, welt, thread, stitch path, bottom, bonding where used, dimensions, workmanship, flex location and intended use. Compare approved specifications and relevant test evidence.
Can welt-stitched slippers use TPR or EVA soles?
Yes. UTOP can commonly develop this construction with TPR or EVA bottoms. The choice should reflect the required shape, thickness, hardness or density direction, tread, flex, tooling, target cost and attachment process.
What stitch spacing should a buyer specify?
There is no universal value for every slipper. Spacing and edge distance should be proposed and approved for the actual welt width, materials, curves, thread and equipment, then recorded in the specification and close-up standard.
How should bulk welt stitching be inspected?
Use the approved sample and controlled specification to check stitch continuity, spacing and edge-distance appearance, thread finish, welt profile and join, upper-to-bottom alignment, open edges, pair consistency and size-related variation. Add buyer-required sampling, measurements and tests as agreed.
How long does a custom welt-stitched slipper project take?
UTOP’s regular custom slipper samples generally take about 7–14 days. After the necessary sample and other approvals, bulk production is generally about 30–45 days. Materials, tooling, revisions, testing, quantity, branding, packing and the production schedule can change the timing.
Final takeaway
The value of welt-stitched slippers comes from a well-controlled product system, not from a visible seam alone. Define what the stitch joins, choose materials that work together, approve the edge at close range, and convert that approval into measurable or clearly photographed production criteria.
When those decisions are made early, the welt becomes useful to both design and manufacturing: it gives the slipper a recognizable border while giving the sourcing team a specific connection to review during sampling and bulk production.
Discuss Your Welt-Stitched Slipper Project
Send UTOP your reference design, materials, size range, quantity, branding and target market. Our team can review the construction direction and identify the sample information needed for a clear quotation.
Request a Project Review