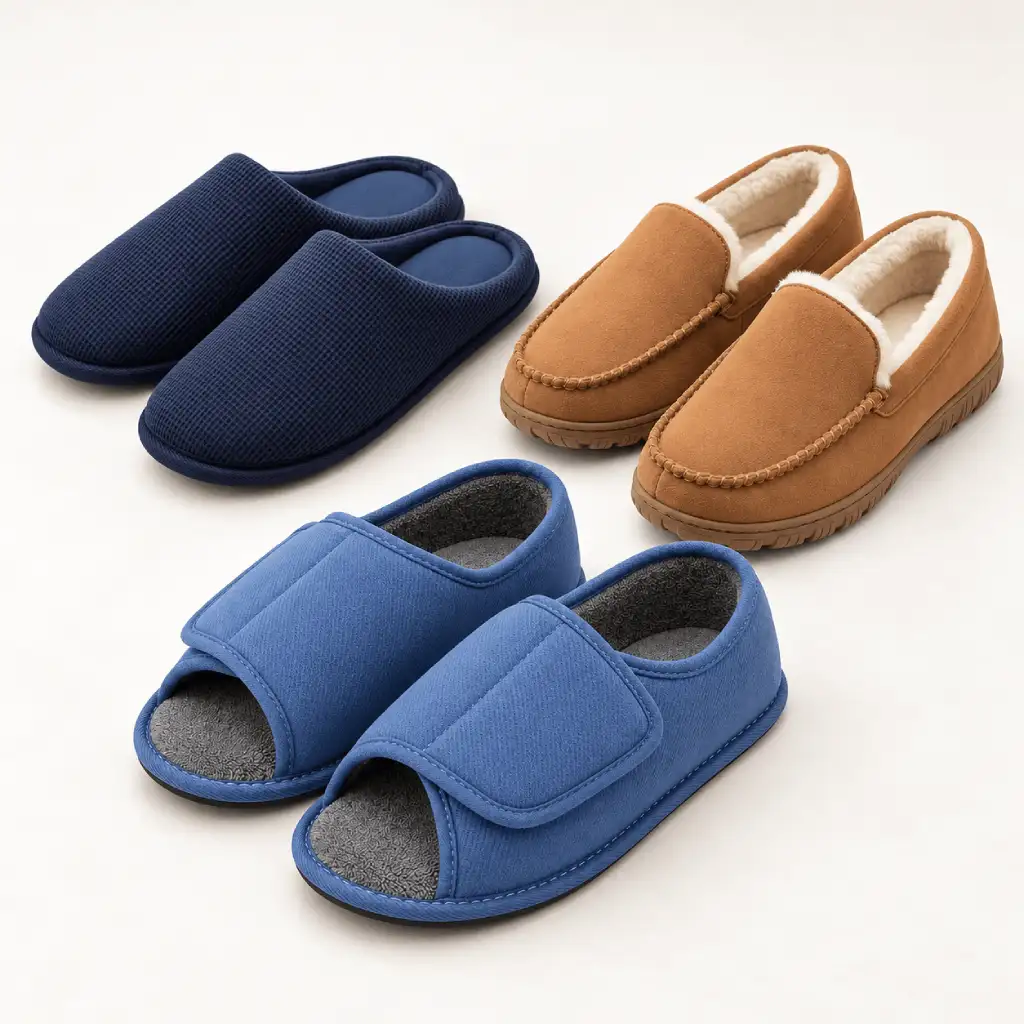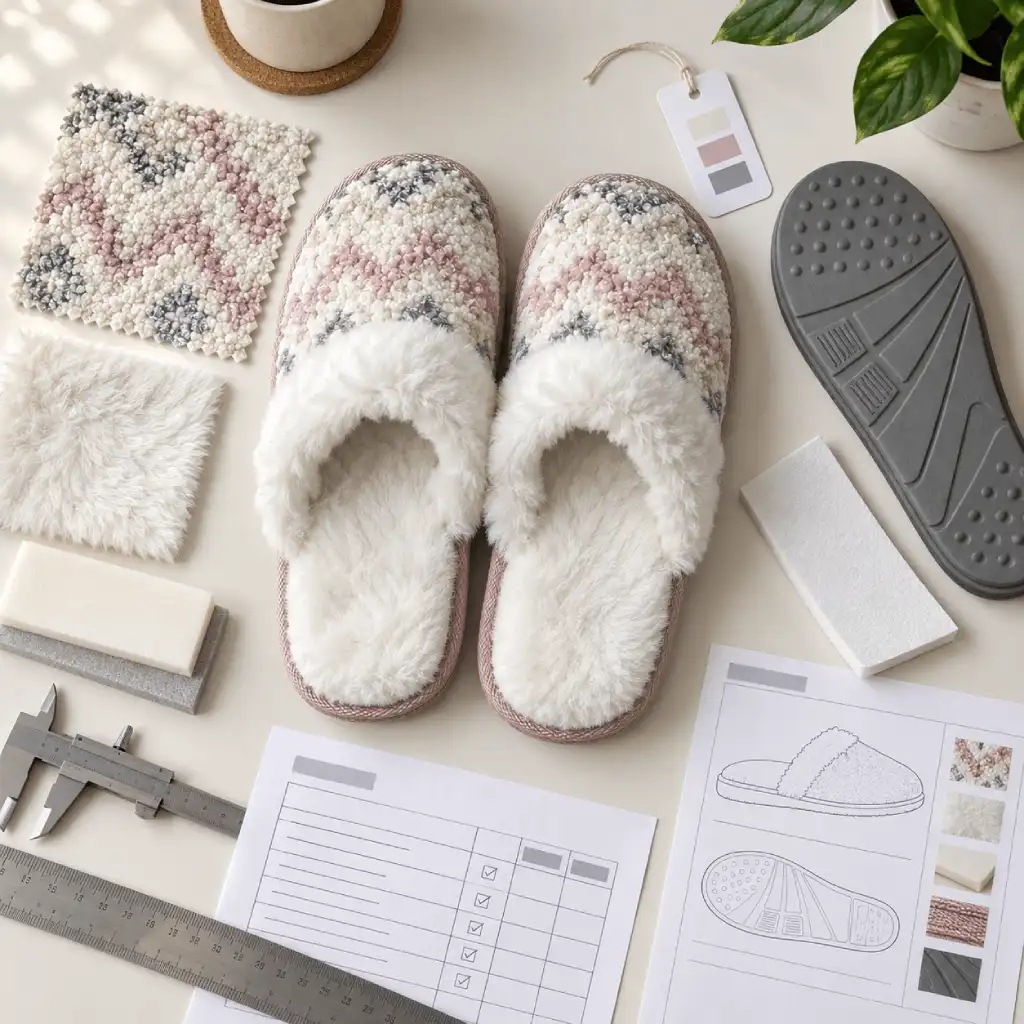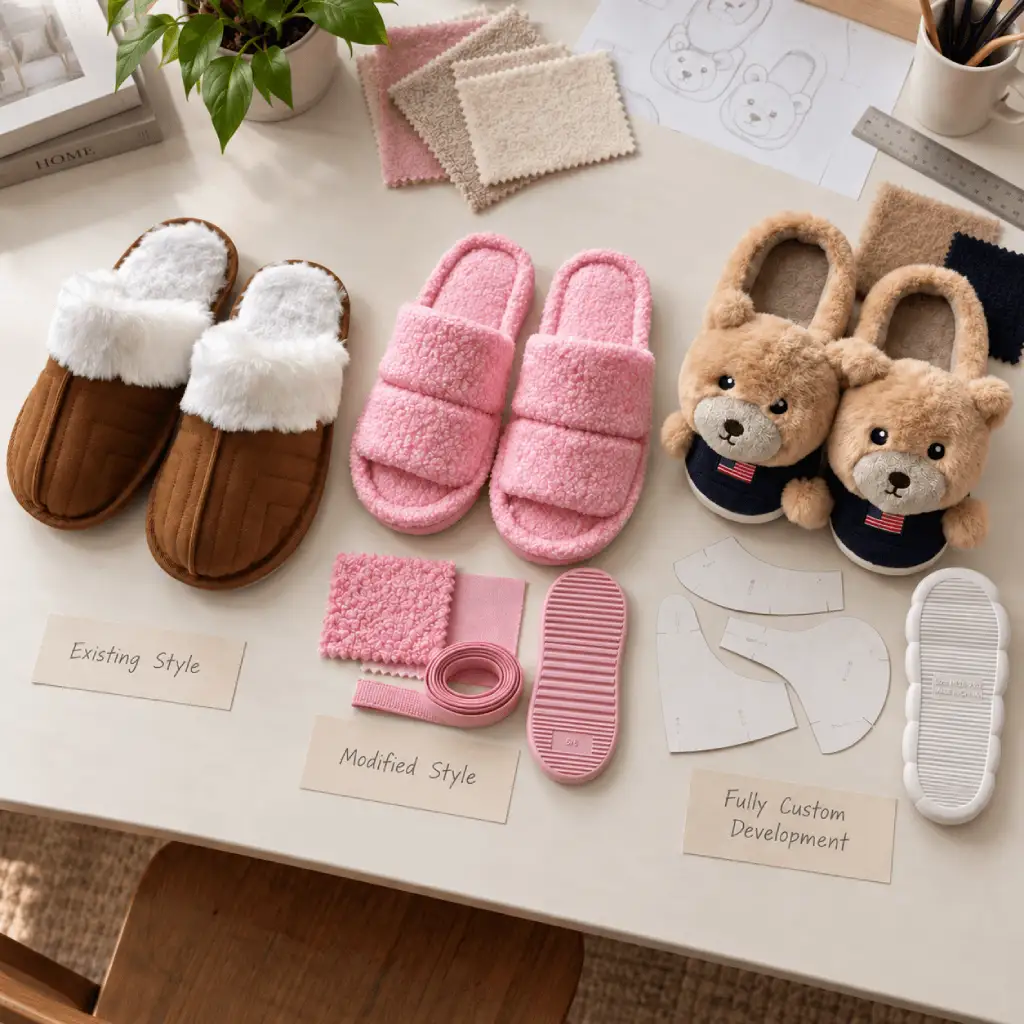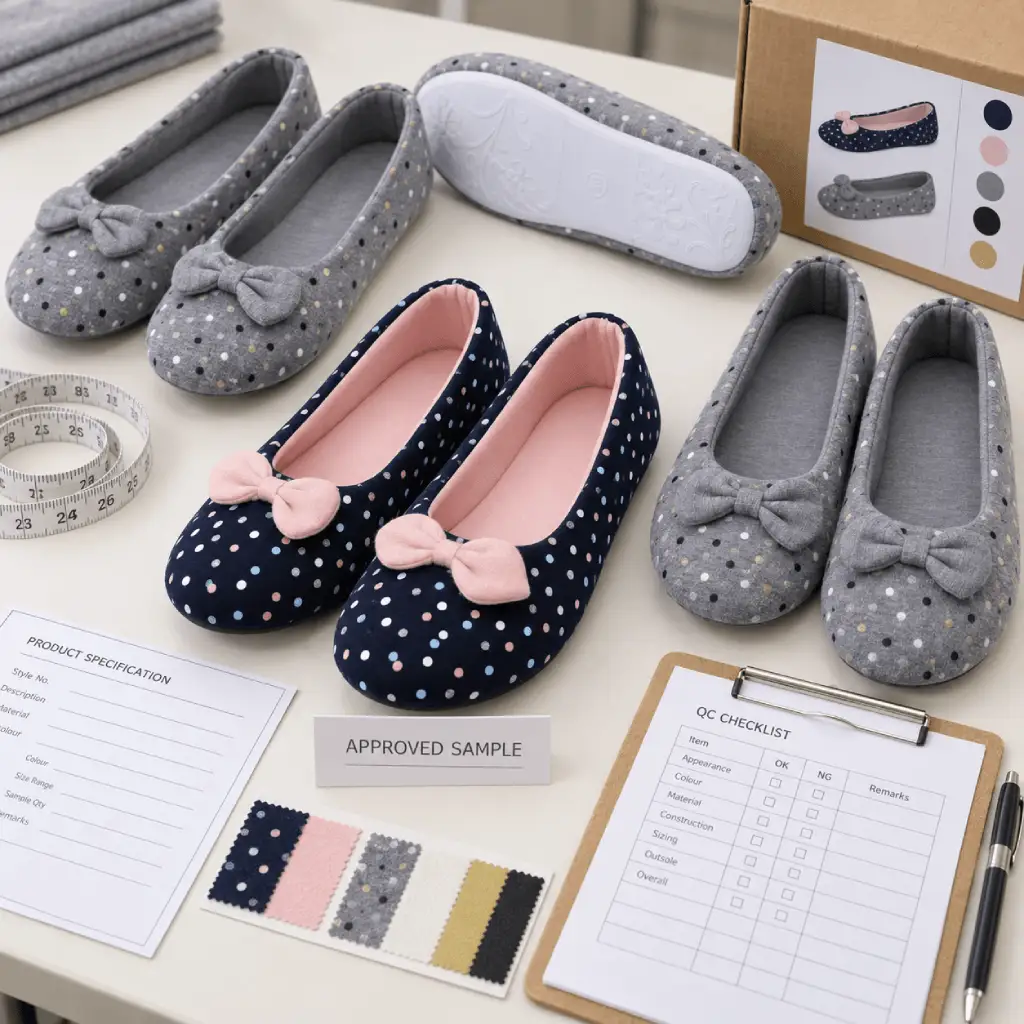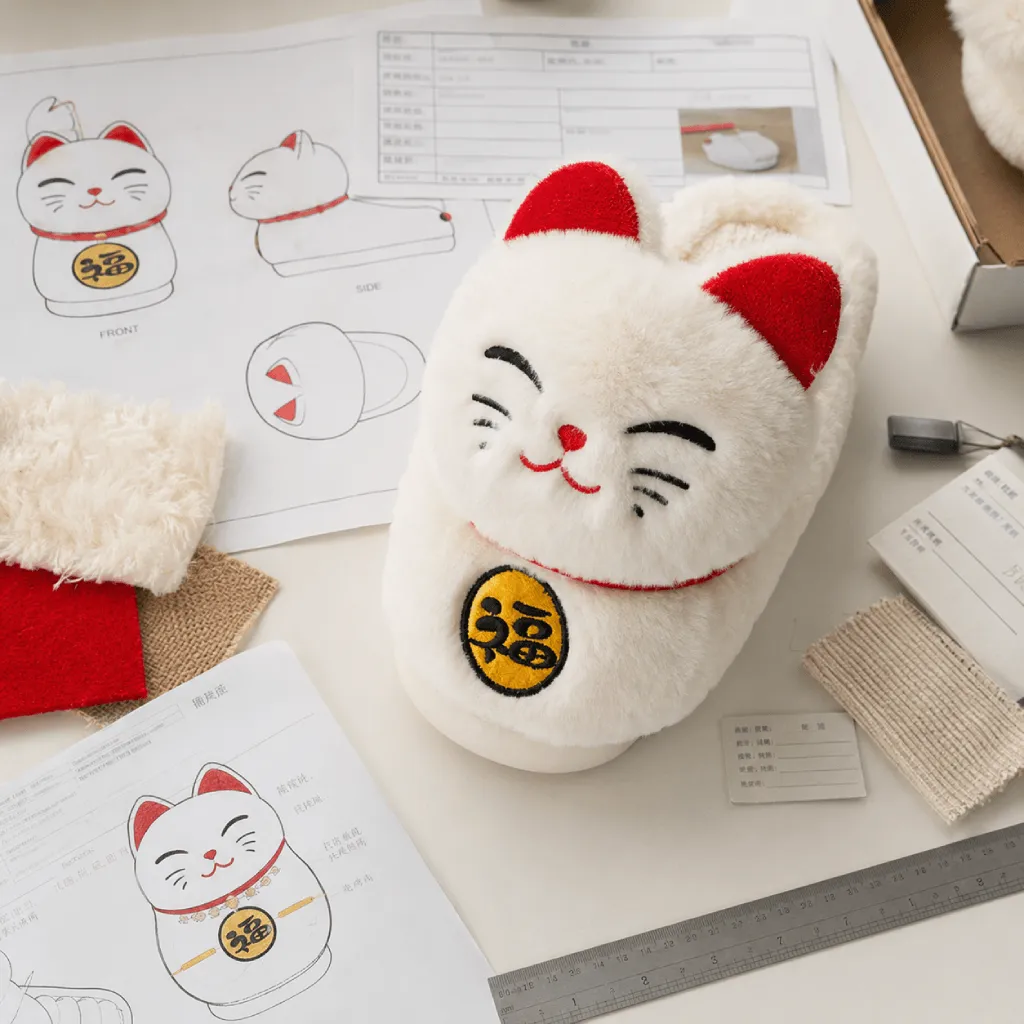
Shoe defects in indoor slipper manufacturing are not limited to obvious damage. Sole separation, open seams, mismatched pairs, compressed foam, shedding plush, loose trims, distorted outsoles, and poor finishing can affect appearance, fit, function, packing, or saleability.
For wholesale buyers, the useful question is not simply whether one sample looks acceptable. The product specification, approved sample, construction method, materials, size range, packaging, inspection scope, and any required tests must work together as one production standard.
This guide explains eight common shoe defects found in indoor slippers, why they may occur, what can be controlled during production, and what brands, importers, retailers, and sourcing teams should check before approving a bulk order.
Buyer takeaway: treat defects as specification and process-control problems. Define the acceptable result before production, inspect at the stage where correction is still practical, and compare every decision with the current approved references.
Scope: this article covers manufacturing-related footwear defects in indoor slippers. It does not diagnose damage caused only by consumer wear, unsuitable care, or home repair, and it does not assign one universal tolerance to every product.
This article focuses on identifying and preventing manufacturing defects. For a complete inspection framework covering approved references, in-process checks, final inspection, AQL requirements, testing, and corrective action, see our Footwear Quality Control Guide for Bulk Slipper Orders.
Written by the UTOP Slippers Sourcing Team, with product, production, and quality-control input from our indoor slipper manufacturing team.
1. How to Classify Common Shoe Defects in Indoor Slippers
A practical review of common shoe defects starts with the effect on the finished product. Some defects are immediately visible, while others appear only when the slipper is measured, flexed, packed, or compared with its approved specification.
The same observation can also have different importance in different orders. A minor shade variation may be acceptable within an approved material range but unacceptable when it creates obvious left-right mismatch. A small loose thread may be a finishing issue; an open structural seam may affect the integrity of the upper. Defect classification should therefore follow the buyer-approved standard, intended use, and agreed acceptance criteria.
| Defect group | Typical observation | Possible production influence | Useful control stage |
|---|---|---|---|
| Sole separation | A gap develops between upper, midsole, outsole, or bonded bottom layers | Material compatibility, surface preparation, adhesive process, pressing, curing, or attachment design | Sample validation, process check, and specified bond evaluation |
| Stitching defect | Open seam, missed stitch, broken thread, puckering, or uneven stitch line | Pattern alignment, seam allowance, needle and thread selection, tension, handling, or trimming | Sewing-line inspection before assembly hides the seam |
| Size or pair inconsistency | Left and right slippers differ, or production measurements fall outside the approved range | Pattern, cutting, sewing, shaping, sole sizing, grading, or pair matching | First-piece check, size-set review, and final pair comparison |
| Foam deformation | Uneven cushioning, permanent dents, compressed edges, or distorted footbed shape | Foam specification, cutting, lamination, assembly pressure, storage, or packing compression | Incoming material, component, finished-pair, and packing review |
| Plush or surface defect | Loose fibers, bald areas, cut pile, surface marks, or inconsistent pile direction | Material construction, cutting, sewing, brushing, cleaning, storage, or packing | Incoming fabric, cutting, finishing, and packing-recovery check |
| Decoration defect | Misplaced logo, loose trim, distorted embroidery, unreadable print, or mismatched decoration | Artwork control, placement guide, backing, machine settings, attachment method, or handling | Approved strike-off or sample and in-process position check |
| Outsole defect | Warping, uneven floor contact, wrong tread, poor edge, dimension difference, or mismatched soles | Material, molding or cutting, cooling, storage, trimming, pairing, or assembly | Component inspection and finished-pair flatness review |
| Finishing defect | Stain, visible adhesive, loose thread, shade mismatch, poor edge finish, or incorrect label | Material control, workplace cleanliness, application accuracy, trimming, pairing, or packing | Finishing-line check and final inspection |
A defect name is not yet a root cause
Finding an open seam or a separated sole describes the result, not the complete cause. Effective corrective action requires the factory to identify the affected material, size, color, machine, production stage, time period, and quantity. Reworking a few visible pairs without checking the process may leave the same footwear manufacturing defect elsewhere in the lot.
Visible observation
Record what is wrong, where it appears, how often it occurs, and which approved reference it does not meet.
Process investigation
Trace the product through materials, cutting, sewing, assembly, finishing, inspection, and packing before selecting the correction.
A clear defect library can help inspectors use consistent terminology, but photographs and descriptions should be specific to the product. The approved limit for a short-plush slipper may not work for a long-pile faux-fur style, and the same outsole check cannot be applied blindly to molded TPR and cut-sheet EVA constructions.
2. Sole Separation and Footwear Bonding Failure
Shoe sole separation occurs when the intended connection between the upper and bottom, or between layers of the bottom construction, begins to open. The defect may appear at the toe, heel, sidewall, or another stressed area. It can affect cold-glued slippers and other bonded constructions, but the investigation must follow the actual materials and attachment method.
A gap does not prove that the adhesive was simply “cheap.” Possible influences include incompatible surfaces, inadequate preparation, contamination, incorrect adhesive application, unsuitable open time, insufficient pressure, curing conditions, material movement, poor fit between components, or a construction that was not validated for the intended use.
| Control point | What to confirm | Why it matters |
|---|---|---|
| Material combination | Upper, bottom material, coatings, laminations, and any intermediate layers | Different surfaces may require different preparation and bonding systems |
| Surface preparation | Cleaning, roughing, priming, treatment, and control of dust or release agents where applicable | The bond must form on a prepared surface rather than contamination |
| Adhesive process | Specified adhesive, mixing or activation where required, coverage, drying or open time, and working conditions | Application outside the controlled process can change the finished bond |
| Assembly and pressing | Component fit, alignment, pressure, contact area, and time | Poor contact can leave local weak areas even when materials are correct |
| Curing and handling | Required stabilization before flexing, finishing, packing, or testing | Premature handling may disturb a bond before the process is complete |
How buyers can reduce sole-separation risk
- Confirm the exact outsole material, construction, attachment method, and approved sample before bulk production.
- Review early production pairs at the toe, heel, side, and any transition where the upper and sole must follow different curves.
- Define any required flexing, bond-strength, aging, or market-specific evaluation before the order is produced.
- When separation is found, isolate the affected scope and investigate the process instead of adding adhesive only to visible gaps.
Where an objective bond measurement is required, the method and acceptance criteria must be agreed for the product. SATRA TM411, for example, describes a laboratory method for measuring peel strength at points around footwear sole bonds. Referencing a method does not mean a specific slipper has passed it; the buyer and supplier must define whether the method is applicable and what result is required.
Construction note: welt stitching or side stitching can add a mechanical connection, but stitching does not automatically correct incompatible materials, poor component fit, weak seams, or an uncontrolled bonding process. Evaluate the complete construction.
Buyers considering stitched and bonded options can compare construction-specific checks in our Welt-Stitched Slippers Quality Guide.
3. Open Seams and Shoe Stitching Defects
Shoe stitching defects include open seams, skipped or missed stitches, broken thread, loose thread ends, uneven stitch density, seam puckering, wandering stitch lines, and material damage near the needle holes. Some are mainly visual; others can weaken an upper, binding, label, or upper-to-sole connection.
The inspection should distinguish a harmless trimming issue from a structural seam opening. Inspectors should also check whether the defect appears repeatedly at the same curve, material transition, corner, or thick seam intersection. Repetition often points to a pattern, machine, material-feeding, or operation problem rather than one isolated pair.
Before sewing
Confirm the pattern, seam allowance, notches, material direction, reinforcement, thread, needle, and approved stitch appearance for the construction.
During sewing
Check tension, material feeding, alignment, stitch position, backtacking or other end security where specified, and handling around curves and thickness changes.
After sewing
Open the upper and inspect the seam before later assembly, lining, binding, or plush fibers hide the inside construction.
On the finished pair
Compare seam symmetry, upper shape, edge finish, thread color, loose ends, missed areas, and any opening under normal handling.
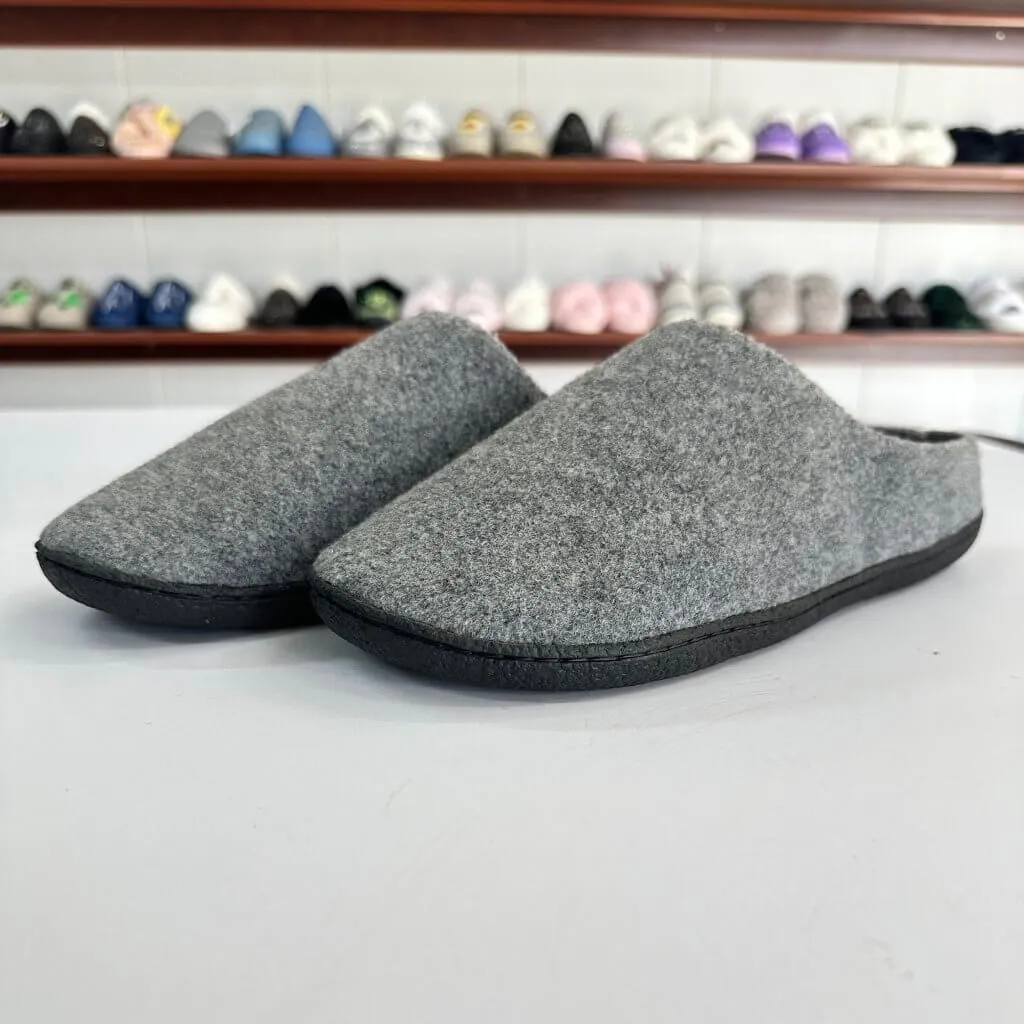
An open seam shoe defect should not be repaired until the affected scope is understood. If the material was cut too close to the seam, simply sewing over the opening may not restore the intended seam allowance or appearance. The correction must match the actual cause and approved workmanship standard.
4. Size, Shape, and Pair Inconsistency
Shoe size inconsistency is not limited to a wrong printed size. A pair can carry the correct label while the footbed length, width, upper opening, toe shape, vamp position, heel landing, outsole dimension, or internal volume does not match the approved size specification.
Indoor slippers are soft constructions, so the measurement method must be defined clearly. If one inspector stretches the upper and another measures it relaxed, their results may not be comparable. The reference points, product condition, measuring tool, and approved tolerance should be agreed before production.
| Buyer check | What it can reveal | Reference required |
|---|---|---|
| Left-right comparison | Unequal length, width, opening, upper height, decoration position, or sole alignment | Approved pair and pair-matching standard |
| Key dimensions | Production measurements outside the buyer-approved size range | Current size specification and defined method |
| Size progression | Unexpected jumps, duplicated dimensions, or poor proportion between sizes | Approved size set and grading direction |
| Fit evaluation | Toe space, instep pressure, heel landing, retention, and balance that dimensions alone may miss | Buyer-approved fitting approach and representative samples |
| Label and pair audit | Mixed sizes, incorrect labels, or mismatched left and right components | Purchase order, SKU matrix, and packing instruction |
Prevention rule: approve a representative size set, not only one middle size. Check early production by size and color before components are mixed into finished pairs and cartons.
Pair consistency is especially important when upper thickness, plush pile, binding, foam, or outsole tooling changes across the range. A consistent outside length does not automatically guarantee consistent internal fit.
For size-system definitions, fit review, grading inputs, and bulk size planning, see UTOP’s Slipper Size Chart and Bulk Sizing Guide.
5. Foam Compression and Footbed Deformation
Slipper foam compression can appear as uneven cushioning, permanent dents, hard edges, collapsed areas, a twisted footbed, or a left-right difference in thickness and feel. Some compression is expected when a cushioning material is loaded, but the acceptable recovery and long-term result depend on the specified foam, thickness, construction, intended use, and buyer requirement.
Thickness alone does not define cushioning quality. Density, firmness, formulation, layer combination, lamination, cutting accuracy, storage, assembly pressure, and packing can all affect the finished result. “Memory foam” is also a material description, not a universal guarantee of durability or comfort.
Common control points
- Incoming material: confirm the approved foam type, thickness, handfeel, color where relevant, and any buyer-defined property.
- Cut components: check outline, thickness consistency, damaged edges, joints, and left-right pairing.
- Lamination and assembly: prevent wrinkles, trapped folds, local pressure marks, off-center placement, or movement between layers.
- Finished sample: compare the footbed shape, step-in feel, balance, and recovery using the agreed evaluation method.
- Packing trial: confirm whether pair folding, tight polybags, carton pressure, or long storage changes the upper or footbed beyond the approved result.
Do not judge foam by one finger-press test
A useful review compares controlled samples under the same conditions. If compression performance is a purchase requirement, define the test method, conditioning, load or cycle, recovery period, and acceptance criteria before production.
For private-label orders, cushioning should be documented together with the upper, lining, insole cover, outsole, fit, and packing method. These components combine to create the finished wearing experience. UTOP’s Memory Foam Slippers Buyer’s Guide explains how buyers can review foam layers, samples, and bulk quality without treating one material name as a performance guarantee.
6. Plush Shedding and Material-Surface Defects
Plush slipper shedding may describe loose cut fibers after production, fibers released from the material construction, damaged backing, cut pile near seams, or continuing surface loss during handling. These are not necessarily the same problem, so the inspection should record when and where shedding occurs.
A small amount of loose fiber from cutting may be removable during controlled cleaning and finishing. Persistent loss, bald areas, unstable backing, or obvious surface inconsistency requires a different investigation. Material type, pile height, density, backing, cutting method, seam placement, brushing, vacuum cleaning, and packing all influence the result.
Material approval
Confirm the actual fabric, pile direction, backing, color, surface appearance, and finished-sample result rather than relying on “faux fur” or “plush” as a complete specification.
Cutting control
Align pile direction, avoid unnecessary damage to visible fibers and backing, and keep mixed cut parts traceable by color, size, and material batch.
Sewing and finishing
Release trapped pile from seams where required, trim carefully, remove loose cut fibers, and compare the finished surface with the approved sample.
Packing recovery
Check matting, pressure marks, pile direction, upper deformation, and recovery after the approved packing method and storage period.
Long-pile faux fur, teddy fleece, sherpa, short plush, and velvet-like surfaces should not share one generic defect limit. Buyers can review more material and bulk-quality considerations in our Plush Slippers Wholesale Guide.
7. Logo, Embroidery, and Decoration Defects
Decoration defects can include an off-center logo, incorrect size or color, distorted embroidery, unreadable printing, puckered base fabric, loose appliques, mismatched trims, reversed components, sharp or uncomfortable attachment areas, and decorations that do not match between left and right slippers.
The correct attachment method depends on the decoration, base material, backing, lining, location, construction, intended use, and buyer requirement. Heat, pressure, adhesive, stitching, and reinforcement cannot be specified from the trim name alone. A method suitable for a stable woven upper may not create the same result on long-pile plush or a soft stretch fabric.
| Approval item | Buyer should confirm | Common defect risk |
|---|---|---|
| Artwork | Current file, dimensions, colors, orientation, wording, and version | Wrong logo, text, color, or proportion |
| Placement | Reference points, angle, left-right orientation, and allowable position range | Off-center, mirrored, tilted, or inconsistent decoration |
| Physical sample | Finished appearance on the actual upper and lining combination | Puckering, hidden detail, poor edge, or unsuitable scale |
| Attachment | Specified method, reinforcement, comfort at the reverse side, and required evaluation | Loose trim, damaged material, uncomfortable edge, or local tearing |
| Pair and size consistency | Visual balance across left and right pairs and representative sizes | Correct on one size but poorly proportioned or misplaced on others |
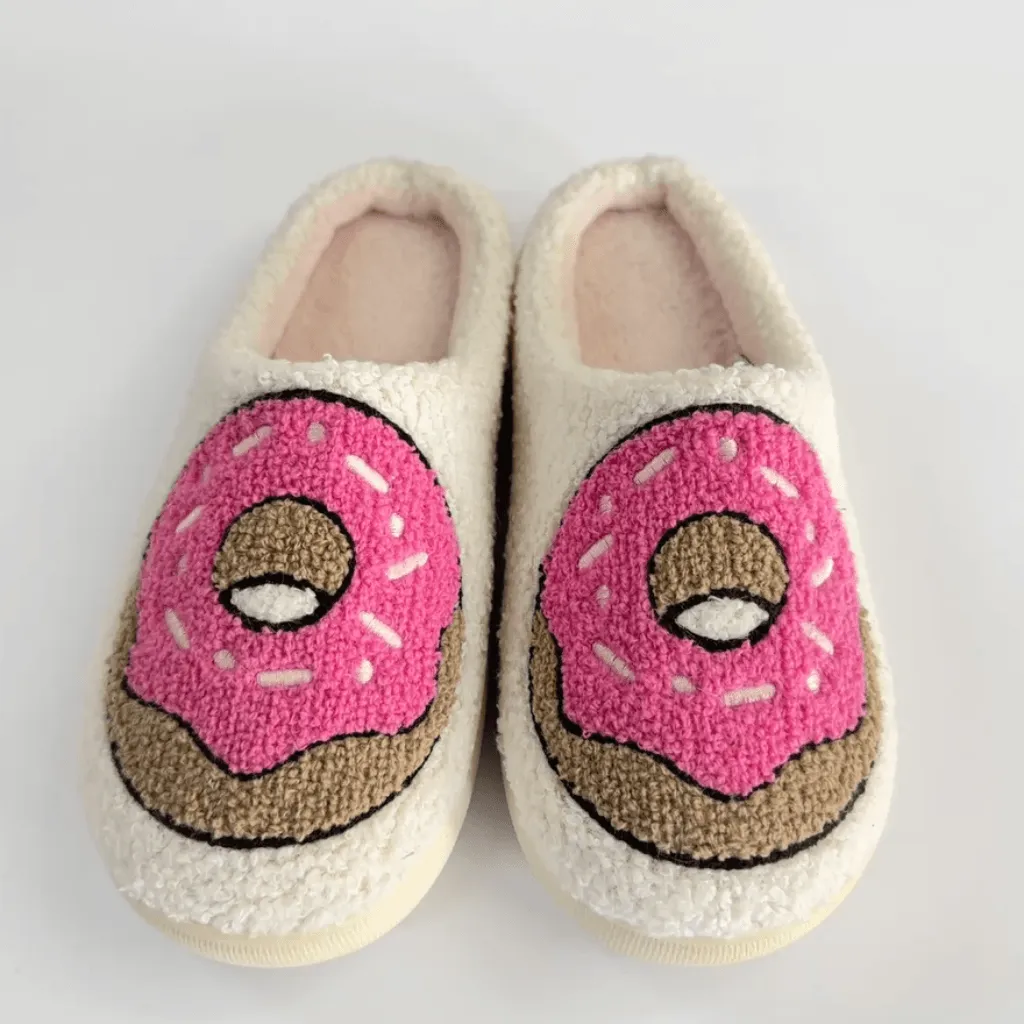
Approval rule: approve decoration on the actual production material and a representative slipper sample. A digital mock-up or separate logo strike-off cannot show every interaction with pile, stretch, seams, lining, and finished shape.
For branding-heavy private-label styles, store the approved artwork and physical application with the controlled product specification. This reduces the risk of a visually consistent bulk order being produced from an obsolete logo file.
8. Outsole Warping, Flatness, and Tread Defects
Outsole defects in slippers may include warping, rocking on a flat surface, inconsistent thickness or weight where specified, poor edge trimming, wrong dimensions, mismatched left and right soles, incomplete or damaged tread, incorrect size marks, contamination, surface flaws, or attachment misalignment.
Molded TPR and cut-sheet EVA require different manufacturing controls. Molded TPR can form a defined outsole profile, sidewall, and tread, while cut-sheet EVA is typically cut from sheet material and finished as a lighter, more flexible bottom. Compression-molded and injection-molded EVA are separate processes again. Buyers should identify the exact outsole construction rather than treating every “rubber” or “EVA” sole as equivalent.
| Outsole check | Molded TPR direction | Cut-sheet EVA direction | Finished-pair concern |
|---|---|---|---|
| Shape and dimensions | Molded outline, sidewall, size, and left-right mold result | Cut outline, length, width, thickness, and edge consistency | Upper-to-sole fit, balance, appearance, and pairing |
| Flatness | Warping, cooling or storage distortion, and floor contact | Sheet flatness, curling, storage pressure, and assembly result | Rocking, uneven contact, or distorted finished shape |
| Tread or surface | Complete molded detail, flash, contamination, marks, and approved pattern | Embossing or surface texture, cut quality, contamination, and approved orientation | Visual consistency and specified floor-contact direction |
| Flex position | Effect of hardness, thickness, tread layout, and molded profile | Effect of density, thickness, layer structure, and cut shape | Whether the complete slipper bends in the intended area |
| Attachment | Side stitching, welt stitching, or bonding according to design | Often cold-glued in UTOP projects; other constructions depend on design | Alignment, edge finish, stitch or bond quality, and local gaps |
Material names do not prove slip resistance, abrasion performance, flex durability, or cost. These results depend on the complete specification and, where required, an agreed test method. Our TPR vs. EVA Sole for Slippers Guide explains how buyers can compare outsole options without relying on generic material assumptions. If floor-contact performance is a project requirement, the Slip-Resistant Outsole Guide explains how tread, materials, intended surfaces, and test conditions should be reviewed together.
Sample check: review outsole material, color, odor, weight where specified, thickness, hardness handfeel, dimensions, flatness, tread, pairing, bend position, and attachment against the approved references.
9. Color, Cleanliness, and Finishing Defects
The last group of common footwear defects includes shade mismatch, stains, visible adhesive, loose threads, rough trimming, uneven binding, incorrect or crooked labels, surface dents, crushed uppers, mixed materials, foreign matter, and poor pair presentation. These issues may not change the basic construction, but they can make otherwise functional slippers unacceptable for the intended retail program.
Finishing problems often come from several stages rather than one final operation. A stain may begin during material storage, cutting, sewing, assembly, inspection, or packing. A shade mismatch may come from mixed material lots or from pairing surfaces with different pile directions. Visible adhesive may relate to application accuracy, component fit, cleanup, or the approved appearance standard.
Prevent visible finishing defects
- Keep materials and cut parts identified by style, color, size, and relevant batch.
- Protect light colors and sensitive surfaces from dirty tables, containers, tools, and mixed handling.
- Use approved color references under a suitable, consistent viewing condition.
- Check left-right pairing for shade, pile direction, print direction, surface texture, binding, and decoration.
- Remove loose fibers and threads without damaging the material or opening seams.
- Review the finished pair after the approved packaging method, not only before packing.
Packaging can create or reveal defects
Tight folding, incorrect pair orientation, undersized bags or boxes, excessive carton pressure, and unprotected decorations can distort slippers or damage the surface. Approve the packed product and recovery result as part of the complete order.
Buyers developing retail-ready packs can use our Footwear Packaging Guide to confirm individual packing, labels, carton quantities, shipping marks, and packed-sample approval.
10. How to Prevent Slipper Manufacturing Defects
The most effective way to reduce slipper manufacturing defects is to control the product before an unacceptable result spreads through the order. Final inspection remains important, but it should confirm a controlled process rather than serve as the first time materials, measurements, construction, logos, and packaging are compared with approved requirements.
| Control stage | Main task | Defects it can help prevent | Buyer reference |
|---|---|---|---|
| Product definition | Confirm materials, construction, dimensions, size range, branding, packing, intended use, and required evaluations | Wrong material, unsuitable construction, unclear size, incorrect logo, or incomplete test planning | Product brief and specification |
| Sample approval | Approve the complete slipper and record all required changes before bulk production | Shape, fit, material, outsole, decoration, cushioning, and packaging mismatch | Controlled approved sample and written comments |
| Incoming materials | Check identity, appearance, color, dimensions or properties where specified, and supporting documents where required | Substitution, shade variation, unstable plush, wrong foam, or incorrect outsole components | Approved swatches, component samples, specifications, and order requirements |
| First-piece and in-process review | Check representative production before defects spread or later operations hide the problem | Open seams, misalignment, poor bonding, size deviation, logo position, and pair inconsistency | Current specification, approved sample, and process standard |
| Finished-product review | Compare appearance, construction, measurements, outsole, labels, and pair consistency | Mixed sizes, finishing defects, outsole problems, missed operations, and unacceptable variation | Inspection requirement and approved references |
| Packing and shipment review | Check pack method, labels, ratios, carton marks, product protection, carton condition, and required release records | Crushing, deformation, missing components, wrong assortment, label errors, and carton mismatch | Packed sample, packing instruction, purchase order, and buyer release process |
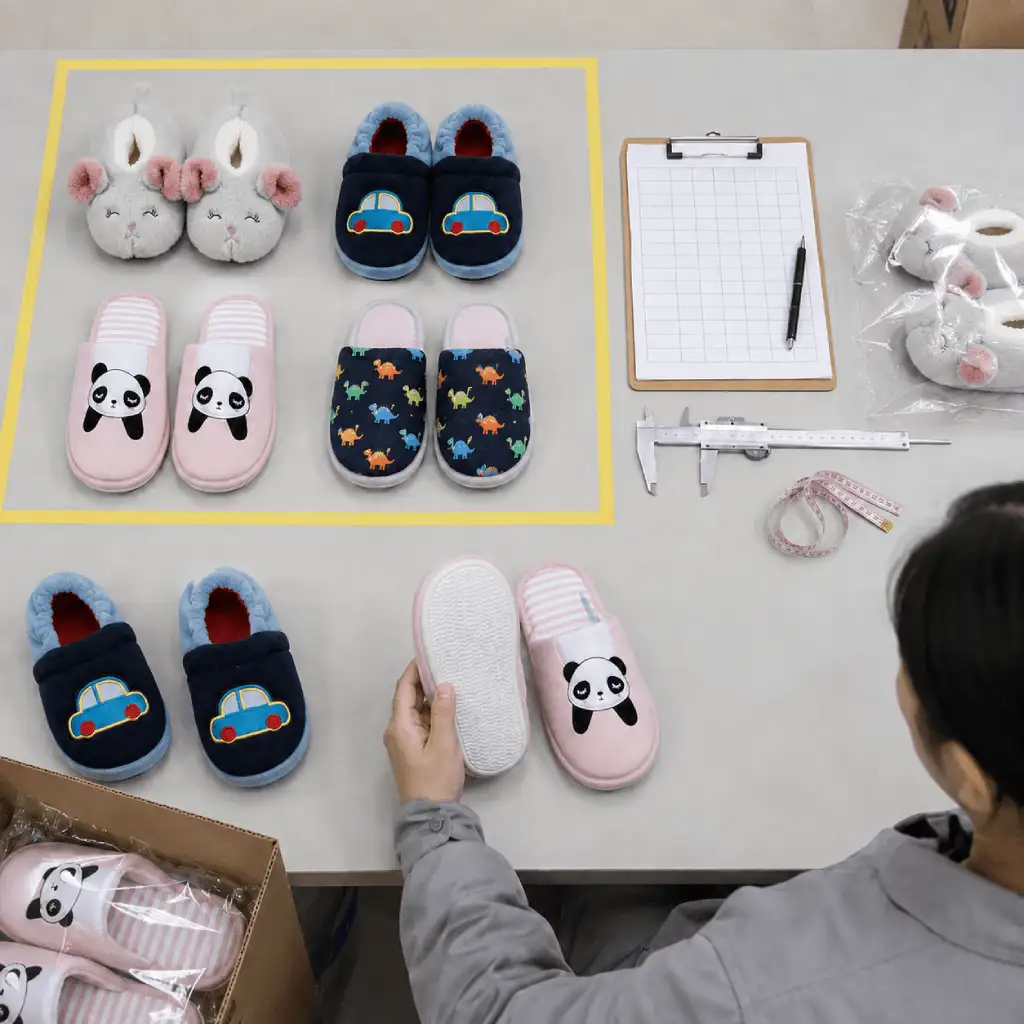
Use one controlled set of references
The approved sample cannot carry every tolerance, label field, test requirement, or packing instruction. A controlled order normally needs the approved sample plus the latest product specification, size information, material and color references, logo files, packaging instructions, purchase order, inspection requirements, and written approvals.
Every revision should be traceable. If the sample, specification, and email comments conflict, production should not continue on personal assumptions. Resolve the conflict and identify which reference controls the decision.
Match tests to the actual risk
On-site inspection and laboratory testing answer different questions. A visual inspection can identify open seams, stains, mismatched pairs, or distorted outsoles, but it cannot replace a defined test for a performance or compliance requirement. Intertek’s footwear testing overview lists examples such as flex cracking resistance, sole bond adhesion, seam strength, colorfastness, and chemical testing.
The appropriate method, sample preparation, laboratory, market requirement, and acceptance criteria should be confirmed for the specific product and order. Do not describe an indoor slipper as tested, certified, slip-resistant, abrasion-resistant, or proven durable without applicable evidence.
Prevention principle: place each check where it can change the outcome. Inspect fabric before cutting, seams before they are hidden, attachment before packing, and the packed pair before the shipment is released.
For the controlled sequence from product brief through sample approval and production handoff, see the Custom Indoor Slipper Development Guide. Buyers planning a branded program can also use the Private Label Indoor Slippers Manufacturing Guide.
11. What Buyers Should Do When Footwear Defects Are Found
When a footwear defect is identified, the first goal is to protect the decision process. Do not mix inspected and uninspected goods, repair products without an approved method, or release the shipment before the affected scope and required response are clear.
| Response step | Required action | Useful record |
|---|---|---|
| 1. Hold and identify | Keep the potentially affected goods identifiable while the issue is reviewed | Style, PO, color, size, quantity, production stage, location, and status |
| 2. Record the defect | Describe the observation, location, frequency, and failed requirement using clear photographs or measurements | Inspection result linked to the controlled reference |
| 3. Define the scope | Check related sizes, colors, materials, machines, operators, time periods, or packed cartons as applicable | Traceability and expanded inspection data |
| 4. Investigate the cause | Distinguish the visible symptom from the material, method, machine, handling, document, or packing cause | Root-cause record supported by process evidence |
| 5. Approve the disposition | Agree whether goods will be reworked, replaced, regraded, accepted under written concession, or handled another approved way | Written buyer and supplier decision with responsibilities |
| 6. Reinspect and release | Verify the corrected scope using the agreed inspection requirement before release | Reinspection result and authorized release decision |
A repair is appropriate only when it restores the approved requirement without creating another problem. For example, extra stitching may change appearance or comfort, aggressive cleaning may damage plush, and local adhesive repair may not address an uncontrolled bonding process.
Brands that need a wider inspection plan can use the Footwear Quality Control Guide to define defect categories, sampling or 100% inspection when required, reporting, testing, nonconformity response, and release authority.
12. Frequently Asked Questions About Shoe Defects
What are the most common shoe defects in indoor slippers?
Common shoe defects include sole separation, open seams and stitching problems, size or pair inconsistency, foam deformation, plush shedding or surface damage, loose or incorrect decorations, outsole warping or tread defects, and color, cleanliness, or finishing problems. The relevant list should be adapted to the actual slipper construction.
How can buyers prevent slipper manufacturing defects?
Define the product and quality requirements before production, approve a representative sample and size set, control incoming materials, check first production and in-process work, inspect finished goods, and approve the packed product. Place each check before the next operation hides or multiplies the risk.
Does stitching completely prevent shoe sole separation?
No. Welt stitching or side stitching can add a mechanical connection, but the finished result still depends on the upper, sole, thread, stitch design, seam position, component fit, and any bonding process used. The complete construction should be evaluated.
Is every visible variation a footwear defect?
Not automatically. Textile, plush, printed, and molded components can have normal variation. A defect decision should compare the actual product with approved samples, specifications, tolerance limits, defect examples, intended use, and buyer acceptance criteria.
Can all slipper defects be found during final inspection?
No. Final inspection can identify many visible, dimensional, construction, labeling, and packing issues, but some risks need earlier process checks or defined laboratory tests. Seams may be hidden after assembly, and material or performance requirements may not be verifiable by appearance alone.
What should buyers send to a slipper manufacturer before sampling?
Send the target market, product reference, materials, construction, size range, colors, logo files, outsole direction, packaging, estimated quantity, delivery needs, inspection requirements, and applicable tests or compliance requirements. The Bulk House Slippers Wholesale Checklist provides a practical starting point.
Conclusion
Common shoe defects are easier to control when buyers and factories work from clear, current references. The right response begins before bulk production: define the product, approve representative samples, identify construction-specific risks, inspect at useful production stages, and document how nonconforming goods will be handled.
UTOP supports custom indoor slipper development and bulk production planning for brands, importers, wholesalers, retailers, and private-label programs. Buyers can review our custom indoor slipper range before preparing a project brief.
Planning a custom or bulk slipper order?
Share your product reference, target market, materials, size range, outsole, branding, packaging, estimated quantity, quality requirements, and delivery plan. Our team can review the information needed for sampling and production.