
Compare welt-stitched, side-stitched, and cold-cemented slipper construction methods before fixing your product specification. Understand where the upper meets the sole, which details need sample confirmation, and what a change of construction means for your project.
For the wider production sequence, explore the slipper manufacturing process.
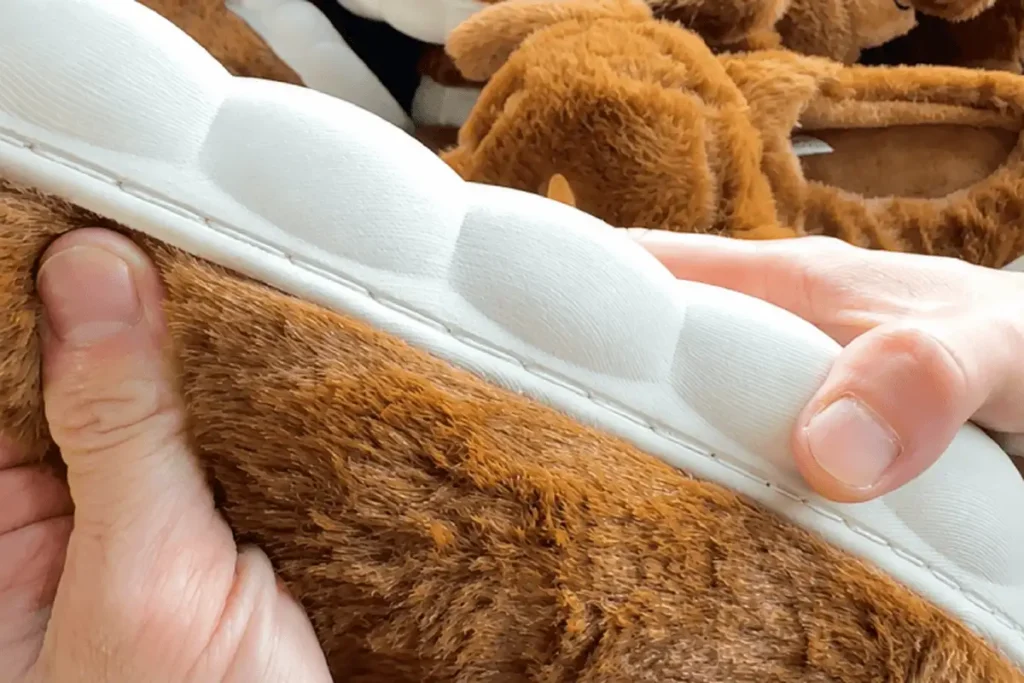
The construction method describes a connection, not an outsole material. TPR or EVA identifies a material direction; welt stitching, side stitching, or bonding explains how components are joined. The complete build still needs to be checked against the selected design.
Method
Connection principle
Outsole directions used at UTOP
Resolve before sampling
Connection principle
A separate welt forms part of the stitched upper-to-bottom connection.
Outsole directions used at UTOP
TPR or EVA, depending on the approved build.
Resolve before sampling
Which layers are joined, the welt specification, and the stitch position.
Connection principle
A side stitching route connects the upper to the outsole structure.
Outsole directions used at UTOP
Commonly molded TPR.
Resolve before sampling
Sidewall geometry, upper alignment, and the intended stitch path.
Connection principle
Compatible preparation, adhesive, and pressing form a bonded connection.
Outsole directions used at UTOP
Commonly EVA; TPR requires a suitably matched bonding process.
Resolve before sampling
The actual material surfaces, bonding area, component fit, and approval requirements.
A change of outsole material does not, by itself, confirm that the same construction can be retained.
Start with the part of the slipper that will be connected. An edge photograph helps explain appearance, but a physical sample or suitable section drawing may be needed to identify the components hidden by the finished border.
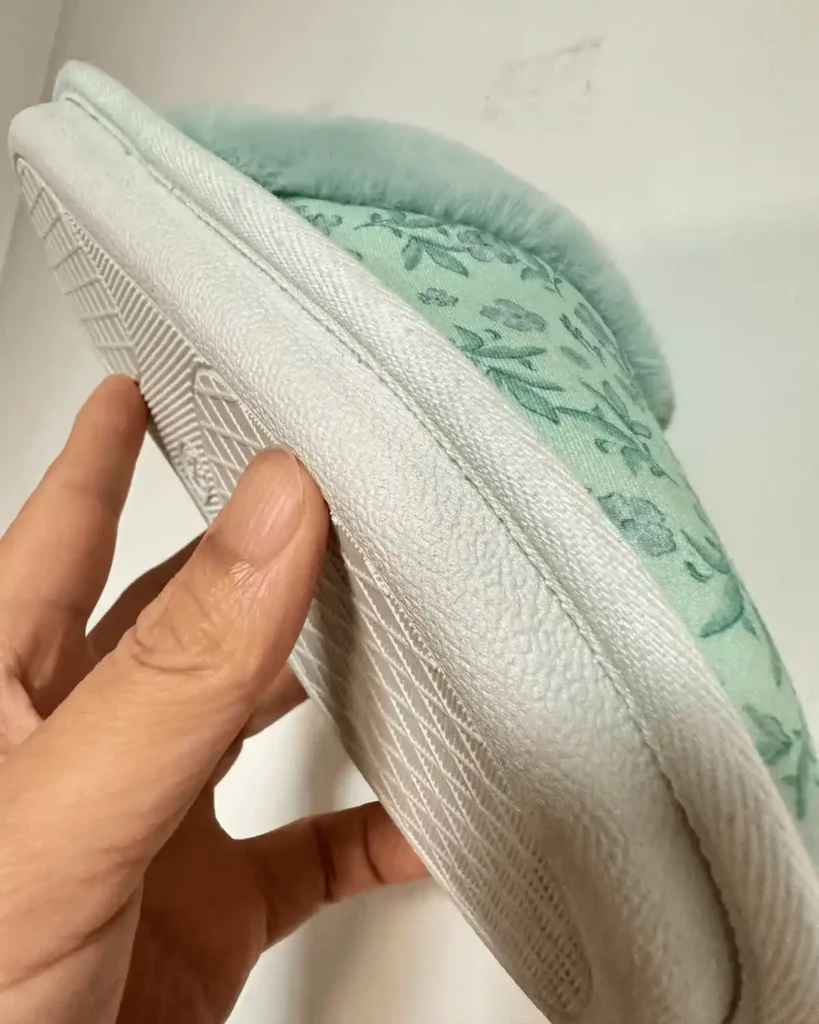
UTOP’s welt-stitched slipper construction uses a separate welt in the connection between the upper edge and bottom assembly. The approved stitch path determines how those components are joined. A finished border alone does not show every layer involved.
Consider this direction when the project calls for a distinct welt edge and a stitched connection. Confirm the welt material, dimensions, color, join position, and relationship to the upper and sole. TPR and EVA are both possible directions, but the layer arrangement must be reviewed for the actual product.
Resolve these points:
UTOP’s welt-stitched slipper structure should not be labeled Goodyear welt or standard stitchdown simply because stitching is visible near the edge.
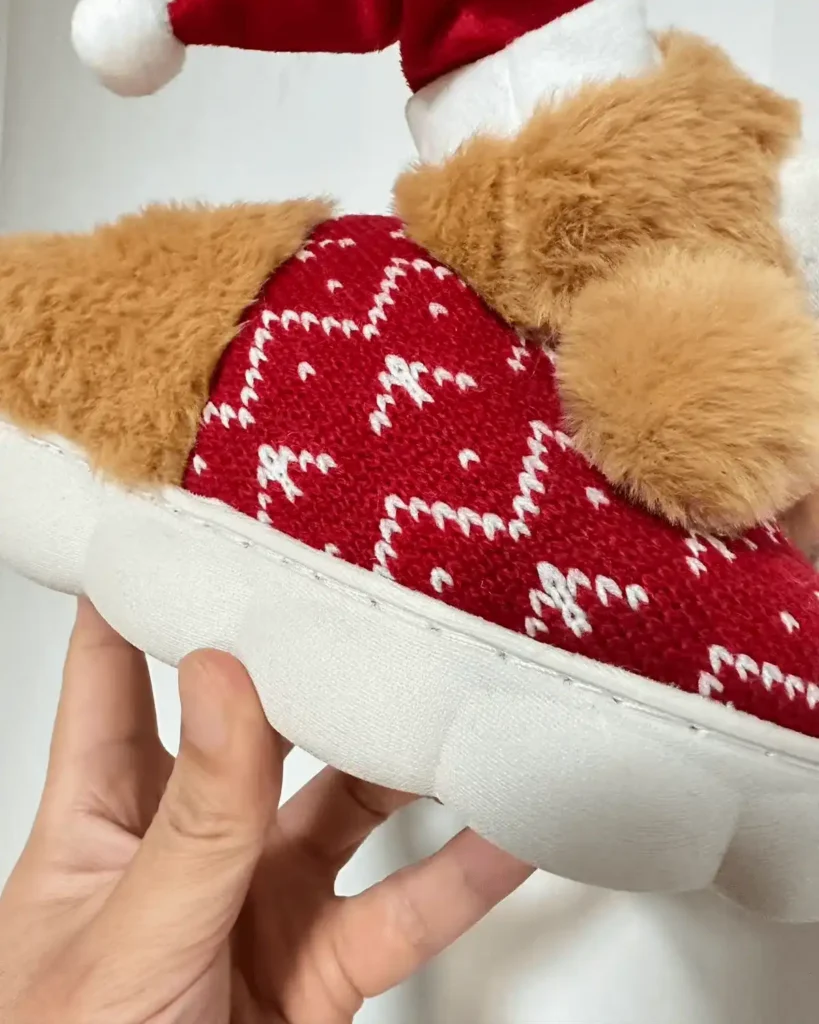
Side stitching joins the upper to the outsole through a defined route along the side of the construction. At UTOP, this direction is commonly paired with molded TPR outsoles. The position of the connection, rather than the presence of any visible thread, identifies the method.
The outsole sidewall and upper edge have to meet in the intended position. Review how much of the upper is covered, where the stitch runs, and how the connection follows the toe, sides, and heel. A decorative seam on the upper or an outsole with a stitch-like surface pattern is not enough to establish side-stitched construction.
Resolve these points:
Changing the upper thickness, padding, or outsole profile can change how the parts meet. Review the assembled sample again instead of assuming that an unchanged material name means an unchanged connection.
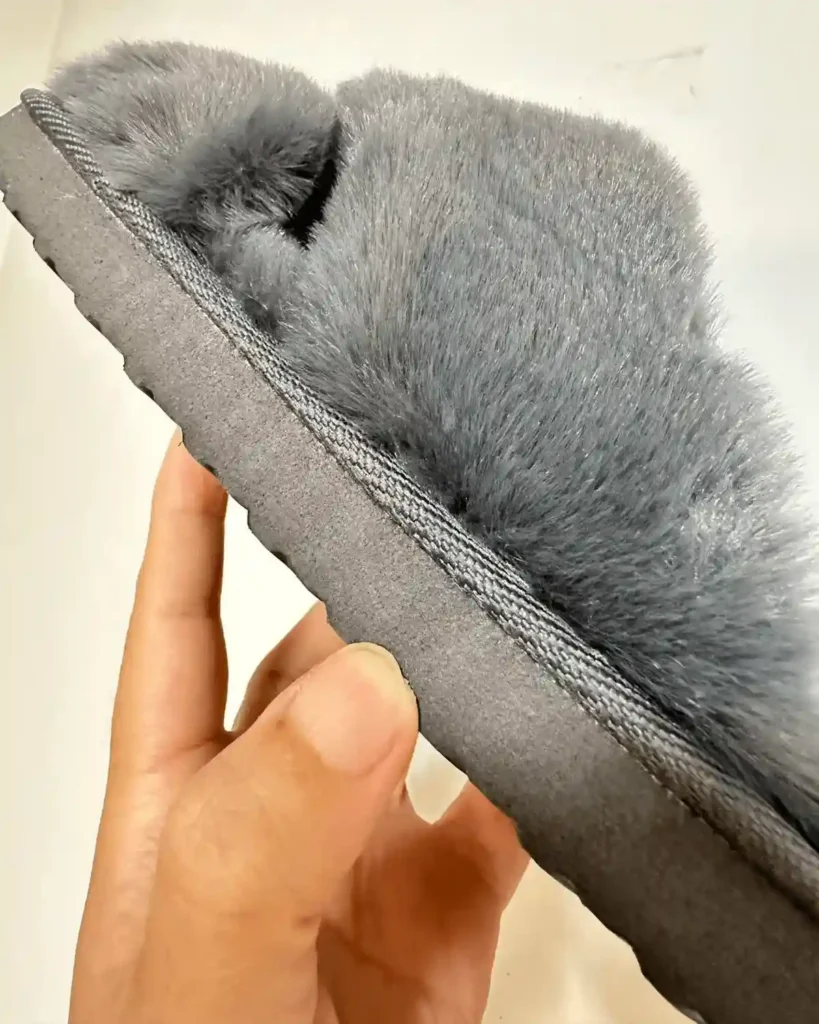
Cold-cemented, also described as cold-glued, construction relies on a bonded connection suited to the upper and bottom materials. The material surfaces, their preparation, the adhesive system, component fit, and pressing conditions have to work together.
UTOP commonly uses this direction with EVA outsoles. TPR can also be bonded where suitable surface preparation, adhesive, and pressing conditions are established. Neither material name is a complete bonding specification.
Consider this direction when the design calls for a bonded edge rather than a structural perimeter stitch. Do not approve it only because the visible edge looks clean: the quality of the concealed interface also matters.
Resolve these points:
Do not substitute a general adhesive recommendation or a universal pressure, temperature, or curing time for the product-specific process. Where objective assessment is required, agree on a suitable method and acceptance criteria for the relevant interface.
The useful question is not which construction is always best. It is which connection can deliver the intended design with the available materials, outsole geometry, and approval requirements.
Identify what creates the reference appearance: a separate welt, an exposed side stitch, a bonded edge, or decoration that only resembles one of them. Keep that distinction in the drawing and sample comments. Similar-looking borders can hide different connections.
Check the actual sole unit before choosing the attachment method. Its edge profile, sidewall, dimensions, stitching route where applicable, and bonding surfaces may limit the available options. Reusing an outsole should be treated as a design constraint, not a shortcut around construction review.
Review the complete interface when a textile backing, upper thickness, lining, padding, or bottom layer changes. Ask whether the change affects the upper allowance, component alignment, stitch position, or bonded contact area. Confirm the revised assembly rather than approving only a material swatch.
Compare quotations against the same product requirements. Components, tooling, material specifications, assembly work, quantities, and validation needs can change the result. Do not select a construction from a fixed cheap-to-expensive ranking or assume that stitching proves durability or slip resistance.
For material-level questions, compare TPR and EVA outsole specifications.
From a welt edge to side stitching: review the upper-edge allowance, outsole sidewall, and proposed stitch route together. Decide which parts of the original border appearance must remain and whether the existing components can support the revised connection.
From a stitched connection to a bonded connection: identify the surfaces and contact area that will carry the bond. Do not treat the change as simply removing the thread from an otherwise unchanged sample.
From one outsole or bottom assembly to another: recheck the component outline, thickness at the connection, material surfaces, and relationship to the upper. Confirm whether the previous stitch or bonding specification still applies.
For any proposed switch, distinguish the details that must stay fixed from those that may change, then agree on the sample review needed before production.
Record the connection in a form that the buyer, sample team, and production team can interpret consistently. A construction name should lead to an identifiable build and approval reference.
Confirmation: What the reference should establish
The upper edge, welt where used, bottom components, and actual stitched or bonded interfaces.
The relationship between upper outline and outsole, including the agreed size range and any relevant material-thickness changes.
The required stitch or bond-line appearance, welt joins where used, toe/heel alignment, and left/right consistency.
The current sample, drawing or specification version, outstanding decisions, and changes that require another assembly review.
Welt-Stitched: compare the separate welt, stitch position, joins, and perimeter alignment with the approved reference. Use the detailed Welt guide for the full specification and inspection discussion.
Side-Stitched: compare the upper position against the outsole sidewall and follow the actual side stitch route, including its finishing and consistency around curves.
Cold-Cemented: review the agreed interface, edge fit, visible adhesive control, and any specified bond evaluation. A tidy external edge is not a substitute for an appropriate assessment of the bond.
Agree on any required connection, flex, or other product testing before production. The method and acceptance criteria should match the assembly and intended use; this page does not imply that a product has passed a test.
No. TPR and EVA describe outsole material directions. The attachment method describes the stitched or bonded connection. Both must be specified because the same material family can be used in different product builds.
Not reliably on its own. The thread may be structural, decorative, or only part of the visible assembly. Use a clear edge view together with the sample or drawing to confirm the components being joined and the actual stitch path.
That needs a product review. A different connection can require changes to upper allowances, outsole geometry, component alignment, or bonding surfaces. Discuss which appearance and fit details must remain unchanged, then approve the revised assembly.
No. Some builds include both stitching and bonded interfaces. Confirm which parts each operation joins. A stitch elsewhere on the slipper does not establish the quality of a concealed bond.
No universal ranking is useful for every slipper. Material specifications, component fit, stitch or bonding controls, tooling, quantities, and required evaluation all matter. Compare the proposed assemblies against the same project requirements.
Share a reference product, image, sample, or tech pack and explain the intended edge appearance, outsole preference, target market, and any testing requirements. We can review the available information and discuss what needs confirmation before sampling.
Send a reference image, sample, or tech pack with your estimated quantity, target market, and any fixed upper or outsole requirements. UTOP will review the proposed construction and help identify the details needed for sampling.