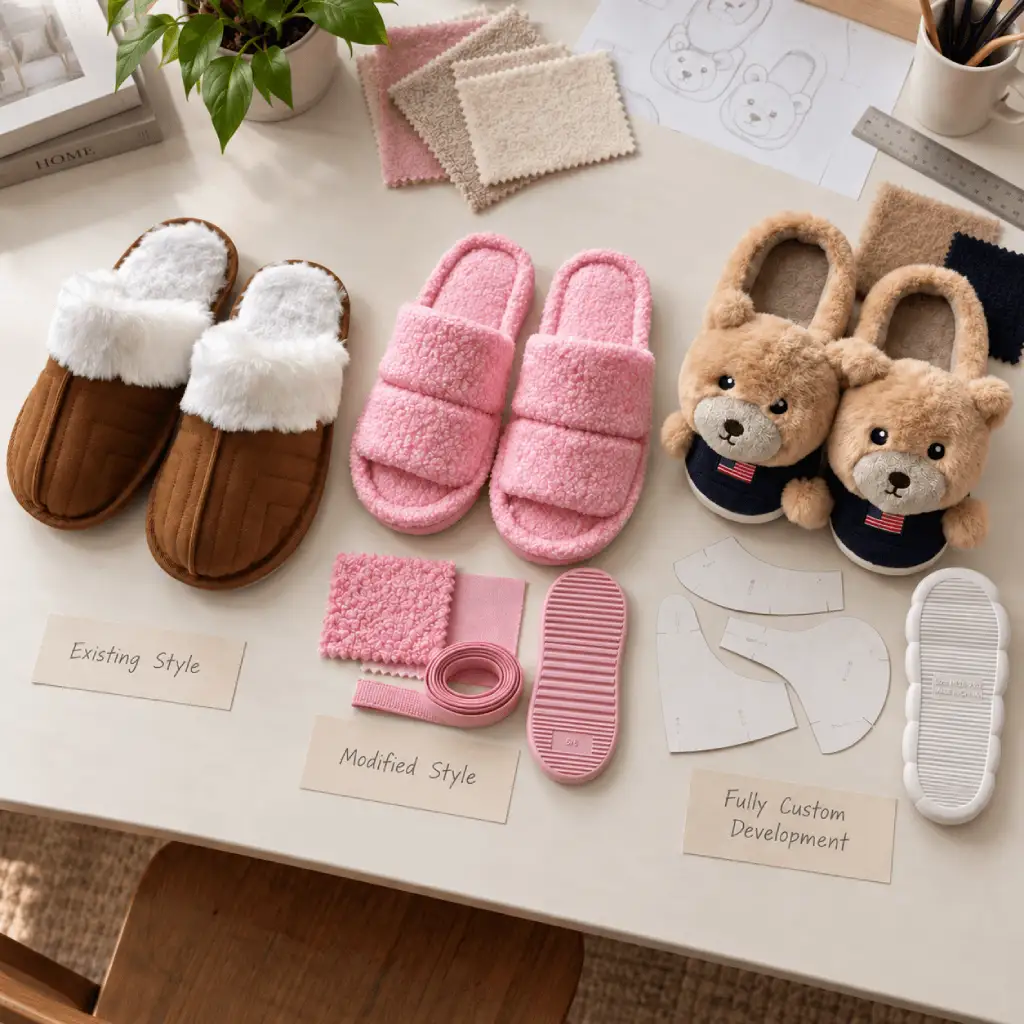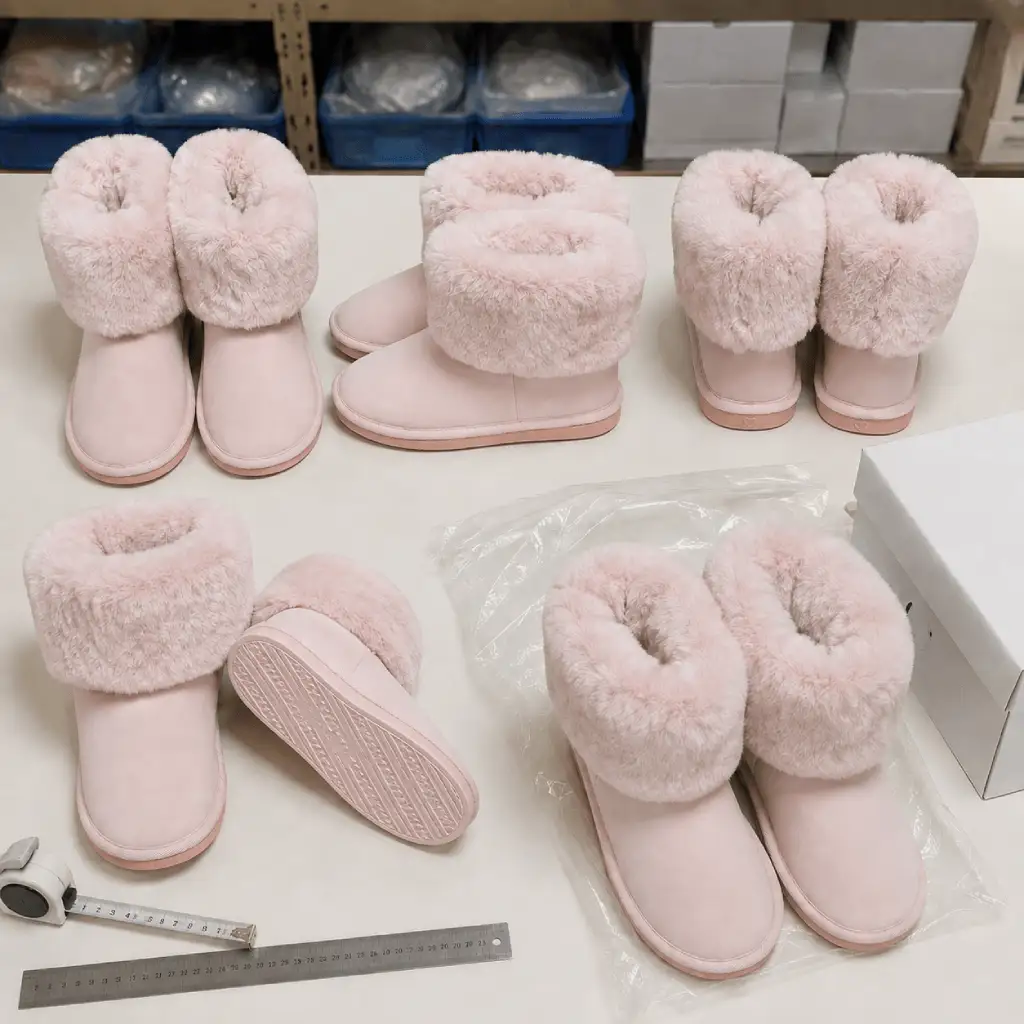
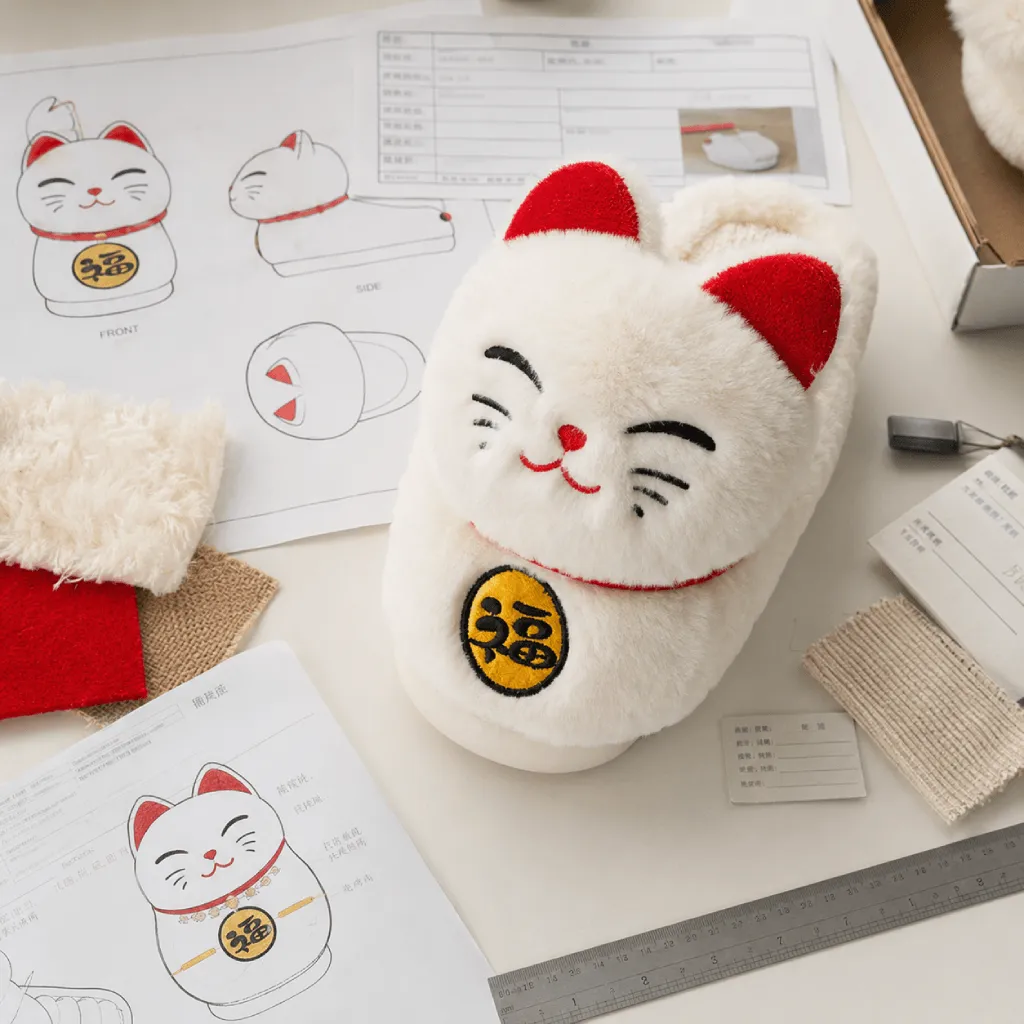
Character artwork for slipper sampling needs to do more than show an appealing face. It has to explain how the character sits on a curved upper, which details matter most, how raised parts should look, and which file controls the next sample.
A single front illustration can start the conversation, but it rarely answers every practical question. The ear angle may be unclear from the side. The nose may project farther than expected. A face that looks balanced on one size may feel crowded on another. When these points stay open, they return as extra sample comments.
This guide shows brands, importers, retailers, and product teams how to prepare a clear artwork handoff before developing a character-inspired slipper sample.
Buyer takeaway: the artwork, sample photographs, approval comments, and product specification should all point to the same character version. If one of them changes, update the others before the next sample or production handoff.
Scope: this article covers the character-artwork handoff before and during sampling. It does not replace fit development, material engineering, outsole selection, testing, commercial terms, or the complete custom slipper development process.
Written by the UTOP Slippers Sourcing Team, with product-development, sampling, production, and quality-control input from our indoor slipper manufacturing team.
1. Confirm the Artwork Source and Approval Route
Before discussing embroidery, proportions, or 3D parts, confirm who owns the character artwork and who can approve changes. Original buyer-owned designs, brand assets, and licensed artwork may follow very different review routes.
A factory should not be asked to copy a protected character, marketplace image, or third-party product photograph without permission. Character rights can involve copyright, trademarks, designs, and licensing conditions; the WIPO overview of character merchandising gives a useful general explanation. The buyer or rights holder should confirm which assets and product uses are authorized for the actual project.
Original character
Name one project owner who can approve the expression, color, proportions, and any practical adjustments suggested during sampling.
Licensed character
Record the permitted asset files, approval contacts, product-use limits, and any restrictions on color, expression, logo placement, territory, or sales channel.
Give the project a style code and place it on every artwork sheet, sample comment, and approval record. Add a version number and date to the current file. Earlier versions can remain in the archive, but they should not sit beside the active artwork without a clear status.
2. Supply the Views That Affect Construction
A polished front illustration is a good starting point, but a character slipper is not a flat print. The upper curves over the foot, raised parts enter seams at an angle, and the opening can change how the face is positioned. Add the views that settle these questions.
| View | What it should clarify | When it matters most |
|---|---|---|
| Front | Expression, eye spacing, face width, pair balance, and visible logo relationship | Every character design |
| Top | Face position relative to the toe, opening, and upper centerline | Large faces or open-back styles |
| Side | Projection, component angle, attachment base, and upper curvature | Ears, horns, wings, noses, or other raised parts |
| Rear | Tail, heel panel, back seam, or closed-back detail | Designs with rear character features |
Use one centerline and a consistent viewing angle. If the left and right slippers mirror each other, say so. If the pair has different expressions or complementary details, show both feet separately. A note such as “same as the other foot” is only useful when the mirroring rule is genuinely clear.
Keep the file practical: if two drawings communicate the same information, keep the clearer one. More pages do not automatically create a better character slipper design brief.
3. Mark the Character’s Non-Negotiable Features
Not every line in the illustration carries the same weight. Eye spacing or an ear angle may define the character, while a hidden seam can move slightly without changing the intended look. The sample team needs to know the difference.
Use a simple priority system
- Identity-critical: features that must keep the approved visual relationship.
- Adjustable after review: details that may change to improve construction, comfort, or repeatability.
- Optional: decorative elements that may be removed if they conflict with the project brief, timing, or cost direction.
Expression deserves a separate note. Two pairs can use the same eyes, nose, mouth, and ears and still look noticeably different because the spacing or angle changed. Ratios, centerlines, and an approved reference photograph often communicate the intended expression more clearly than a long list of isolated coordinates.
Useful approval view: review the pair from the same angle that will be used for product photography. This gives the buyer and factory a practical reference for facial balance and left-right consistency.
4. Separate Artwork From Product Specifications
The artwork explains the character. It should not be expected to settle every footwear decision. A drawing can suggest a soft plush surface, but it cannot confirm the final fabric backing, lining thickness, seam allowance, cushioning, construction method, outsole, or fit.
Keep two connected records: a visual artwork package and a product specification. The artwork package controls shape, expression, placement, colors, and character details. The product specification controls materials, measurements, construction, labels, packaging, and other requirements needed for repeatable production.
For a broader manufacturing file, use UTOP’s Shoe Tech Pack Guide to organize measurements, materials, construction notes, artwork, labels, packaging, and revision history.
Keep outside this article: detailed fit grading, outsole comparison, testing plans, commercial terms, and full packaging engineering. Those topics should be linked to their own pages rather than repeated in a character-artwork guide.
5. Define Every Raised Part as a Separate Component
Ears, horns, wings, fins, tails, and raised noses need more control than a flat color patch. Each part has its own outline, backing, attachment base, angle, and finished fullness. Give every sensitive 3D character slipper component a short ID that can be used in drawings, sample photographs, and comments.
| Component detail | What to record or approve | Why it matters |
|---|---|---|
| Shape and scale | Finished outline, key dimensions, or ratios | Controls the visible character proportion |
| Material direction | Face material, backing, pile direction, and edge finish | Affects appearance, sewing, and stability |
| Internal support | Filling, foam, or no internal support | Changes projection and softness |
| Attachment | Base line, insertion depth, angle, and left-right orientation | Influences position, security, and pair matching |
| Recovery | Expected appearance after packing and reshaping | Helps protect the approved presentation |
Replace subjective words with a usable reference
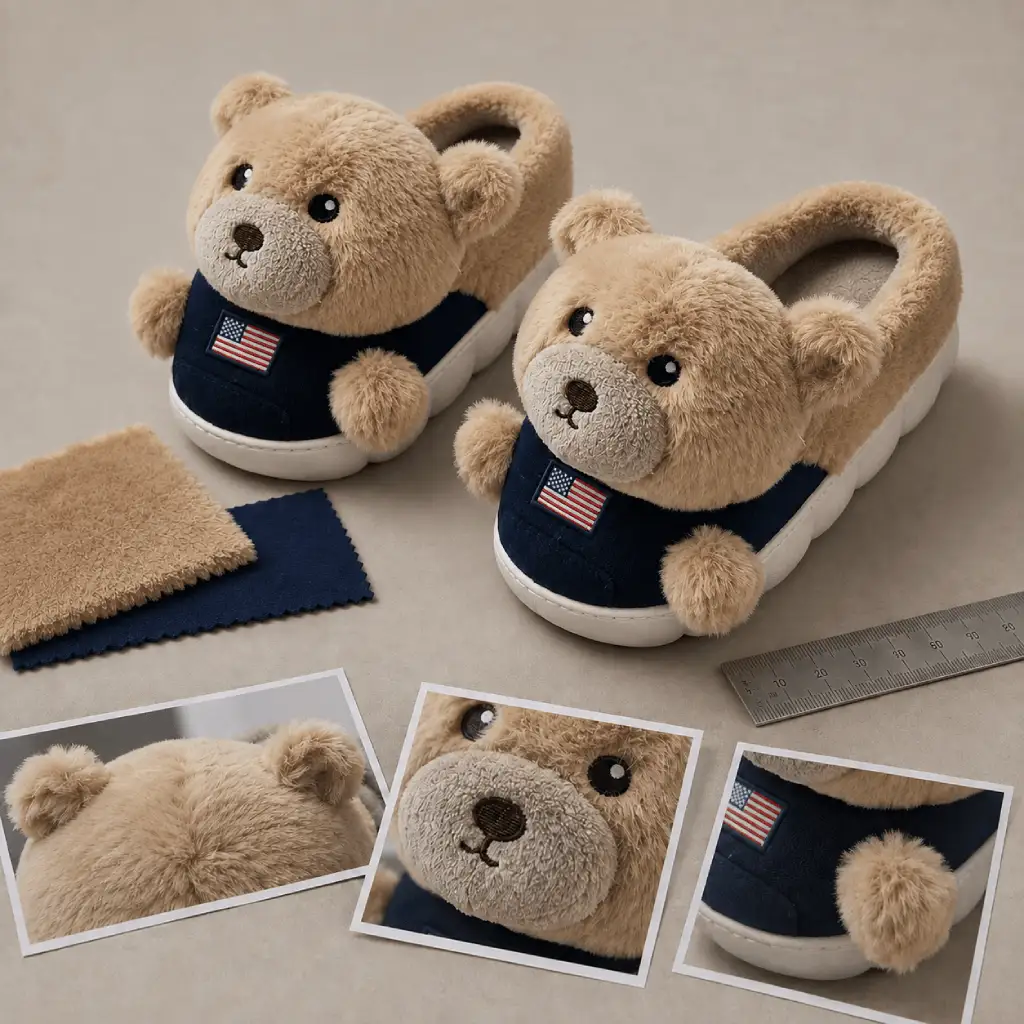
“Full,” “soft,” and “slightly raised” can mean different things to different people. Once the first sample is available, replace those words with an approved component sample, a clear photograph, a dimension, a ratio, or another comparison that the sample room and quality team can use.
Check the attachment from inside as well as outside. A raised part may look correct but leave a rough seam or hard point where the foot meets the upper. The component should sit at the intended angle without twisting, obvious puckering, or an attachment base that becomes uncomfortable.
Packaging note: sensitive ears, tails, noses, and other projections should also be reviewed after packing and recovery. Use the Private Label Footwear Packaging Guide for the wider packing specification.
6. Record Color and Surface Intent Clearly
A screen image is not a physical color standard. Add Pantone references where they suit the project, and provide material swatches or an approved sample when texture affects the result. Pantone also notes that color systems vary by application and material, which is why a digital value alone should not be treated as the final textile result; see its explanation of Pantone color systems.
High-pile plush can soften printed edges, hide fine embroidery, or change how a shade looks when the pile direction moves. Link every color note to a component ID. If the inner ear and embroidered cheek should use the same pink, state whether they need an exact approved match or only a visually coordinated result on different materials.
Small facial details may need embroidery, appliqué, printing, or another method review before the artwork is finalized. The selected method depends on line thickness, number of colors, placement, surface texture, backing, and the way the decorated panel is assembled.
For the wider product decision, review UTOP’s guide to slipper materials and component selection. This article keeps the focus on communicating the character’s visual intent.
7. Decide What Changes Across the Size Range
Character artwork and footwear grading are related, but they do not always move at the same rate. Enlarging every feature by one percentage can make a large size look crowded, while reducing every part for a small size can leave details too weak to sew consistently.
Fixed
One component size is used across several footwear sizes.
Scaled
The detail changes with each upper or outsole size.
Grouped
One detail size covers a defined size group before changing.
The artwork handoff should state the intended rule, even if exact grading is confirmed after a sample review. Depending on the program, the buyer may need to see a small, middle, and large size rather than approving the visual balance from one pair.
Fit, internal space, lining thickness, and outsole grading remain footwear-development decisions. UTOP’s Slipper Size Chart and Bulk Sizing Guide explains why printed size, foot length, internal length, outsole length, and grading references should not be treated as interchangeable measurements.
8. Build the Approval Set Around the Physical Sample
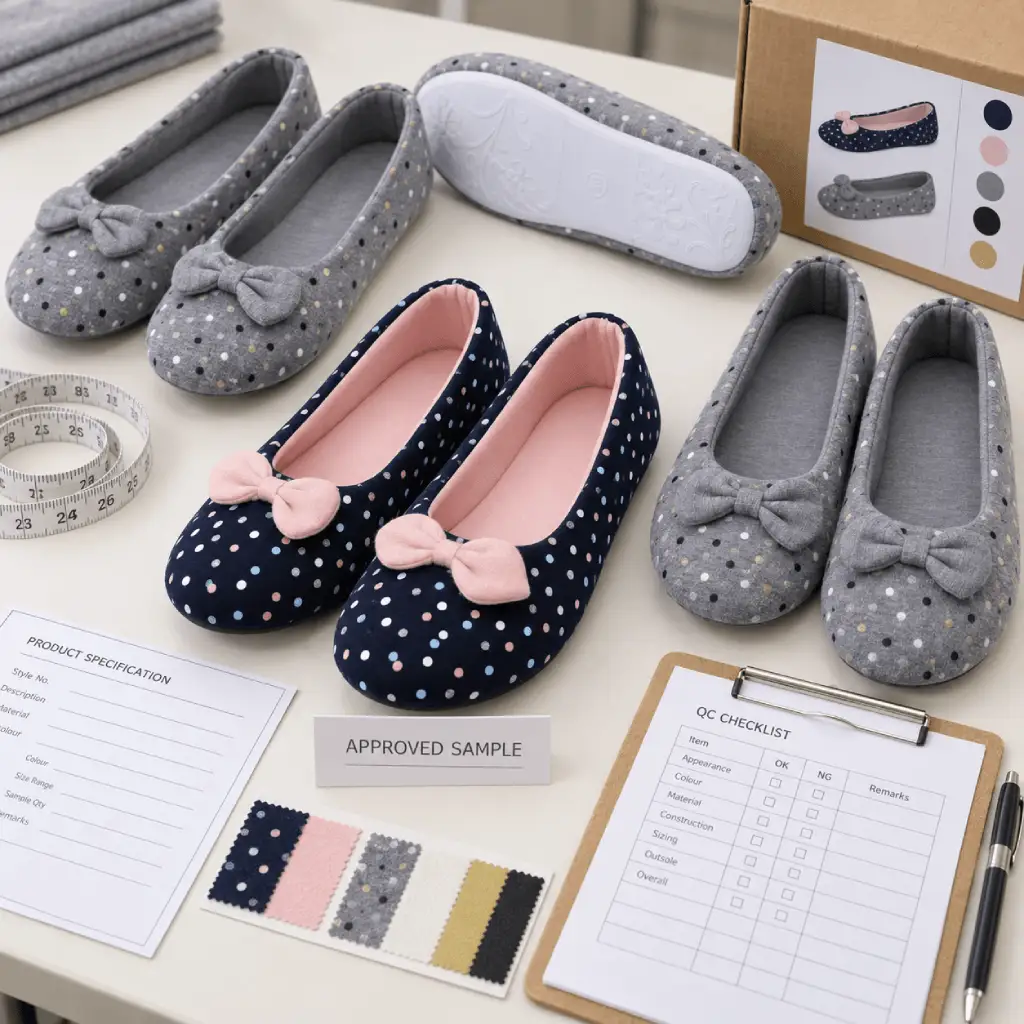
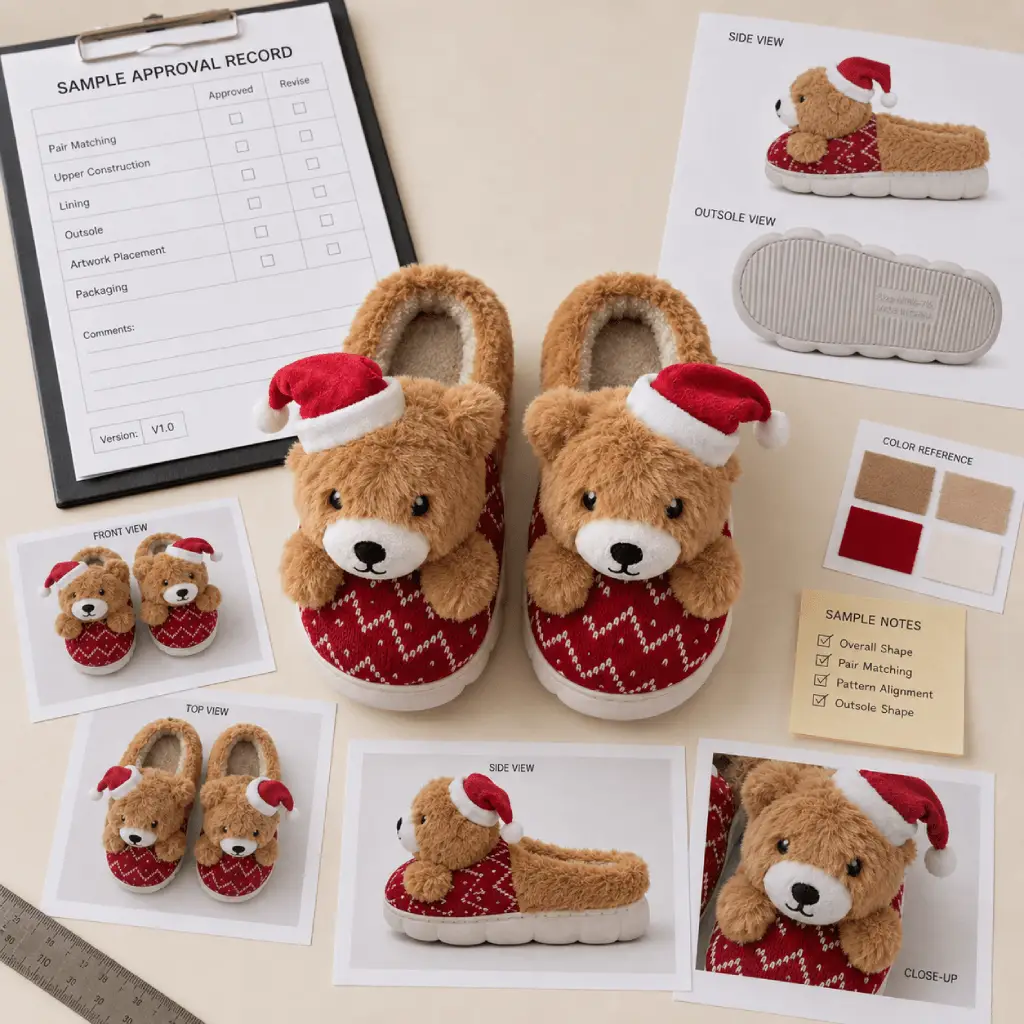
A character slipper sample becomes useful when it can guide the next round, not simply when it looks good in one photograph. The approved pair should connect the flat artwork with the physical result and make sensitive details easy to compare.
- Record the sample size, colorway, style code, and artwork version.
- Photograph the pair from the same front, top, side, and rear views used in the artwork package.
- Add close-ups for eye alignment, ear angle, nose projection, tail position, or another sensitive feature.
- Mark accepted differences instead of leaving the production team to decide whether they are defects.
- Keep the physical approved pair when practical, together with the final digital approval record.
Use photographs to explain soft visual tolerances
A millimetre tolerance cannot describe every soft, shaped feature. An approved photograph can show the intended expression, pair relationship, and fullness more naturally. It should support measurable specifications, not replace them.
Before approval, check that the sample, artwork, color and material references, component notes, and size information all describe the same revision. If the nose changed in the final sample but the old projection remains in the artwork, the approval set is not finished.
The character review is one part of sample approval. Construction, measurements, labels, packaging, and other buyer requirements still need their own checks. UTOP’s Footwear Quality Control Guide explains how approved references can be used in a wider bulk-slipper inspection plan.
9. Use One Controlled Revision Log
Character projects often collect many small comments: lower the eyes, shorten the nose, widen one ear, reduce the filling, or move a patch away from a seam. Problems begin when those comments are spread across email, chat, annotated images, and meeting notes.
- Consolidate one review round into a single marked file.
- Give the updated artwork and sample record a new version number and date.
- State which earlier file the new version replaces.
- Record each comment as approved, rejected, or still open.
- Freeze the artwork only when it matches the approved sample and related product specification.
Approval rule: the final character artwork, sample photographs, physical approved pair, and manufacturing specification should describe the same current revision.
10. Character Artwork for Slipper Sampling: Final Checklist
Before sending the project for a feasibility review, check the information already available. Not every item has to be final at the first inquiry, but open points should be visible rather than hidden.
- Artwork ownership or authorization
- Project code and current version
- Useful front, top, side, and rear views
- Centerline, opening, and placement reference
- Separate left-right artwork where required
- Identity-critical and adjustable features
- Component IDs for raised details
- Key dimensions, ratios, angles, or photos
- Color, thread, print, or swatch references
- Initial size-scaling rule
- One list of open questions
- Named approval contact
Sending a clear partial package is better than presenting assumptions as confirmed specifications. The development team can then identify what is ready for sampling and what needs another decision first.
11. What Happens After the Artwork Review?
The artwork review should end with three things: a list of confirmed character features, a short set of open manufacturing questions, and one collection of files that will control the first sample.
The next stage may cover pattern feasibility, material and color confirmation, component construction, size direction, outsole and attachment review, sample development, and documented revisions. The order depends on the slipper design and how complete the starting information is.
Keeping this article narrow is deliberate. Buyers who need the full commercial and technical route can continue to UTOP’s Custom Slipper Development Services. Once the planned Plush, Animal & Novelty Slipper Development page is live, add one descriptive link from this section to that capability page; do not publish an empty link beforehand.
12. Frequently Asked Questions About Character Artwork and Sampling
Can a character slipper project start from one image?
Yes. One image can support an initial feasibility discussion, but additional views and feature notes may be needed before the sample becomes an approval reference.
Does every 3D detail need an exact millimetre dimension?
Not at the first inquiry. A sensitive detail needs a repeatable control, which may be a dimension, ratio, component template, approved photograph, or physical sample.
Should the left and right slippers always be identical?
No. They may be mirrored, intentionally different, or designed as a coordinated pair. Show both feet when they differ and state the rule clearly.
Can the illustration define the final materials?
It can communicate color and surface intent, but the final materials must also work with the product structure, stitching, raised parts, comfort, sourcing, and buyer requirements.
How should licensed character artwork be handled?
Use only authorized assets and record the required approval route. Restrictions on expression, color, logo use, product application, territory, or channel should be confirmed by the buyer or rights holder.
Conclusion: Make the Character Easy to Repeat
Good character artwork for slipper sampling does not try to answer every manufacturing question. It makes the visual decisions clear enough for the buyer, designer, sample room, and quality team to discuss the same product.
Start with authorized artwork, useful views, feature priorities, component notes, color references, and one revision record. Then use the physical sample to replace assumptions with approved, repeatable references.
Preparing a character-inspired slipper sample?
Share the artwork, available views, target size range, reference product or sample, estimated quantity, and the project information already prepared. UTOP can review the available files and identify the next decisions needed before sampling.