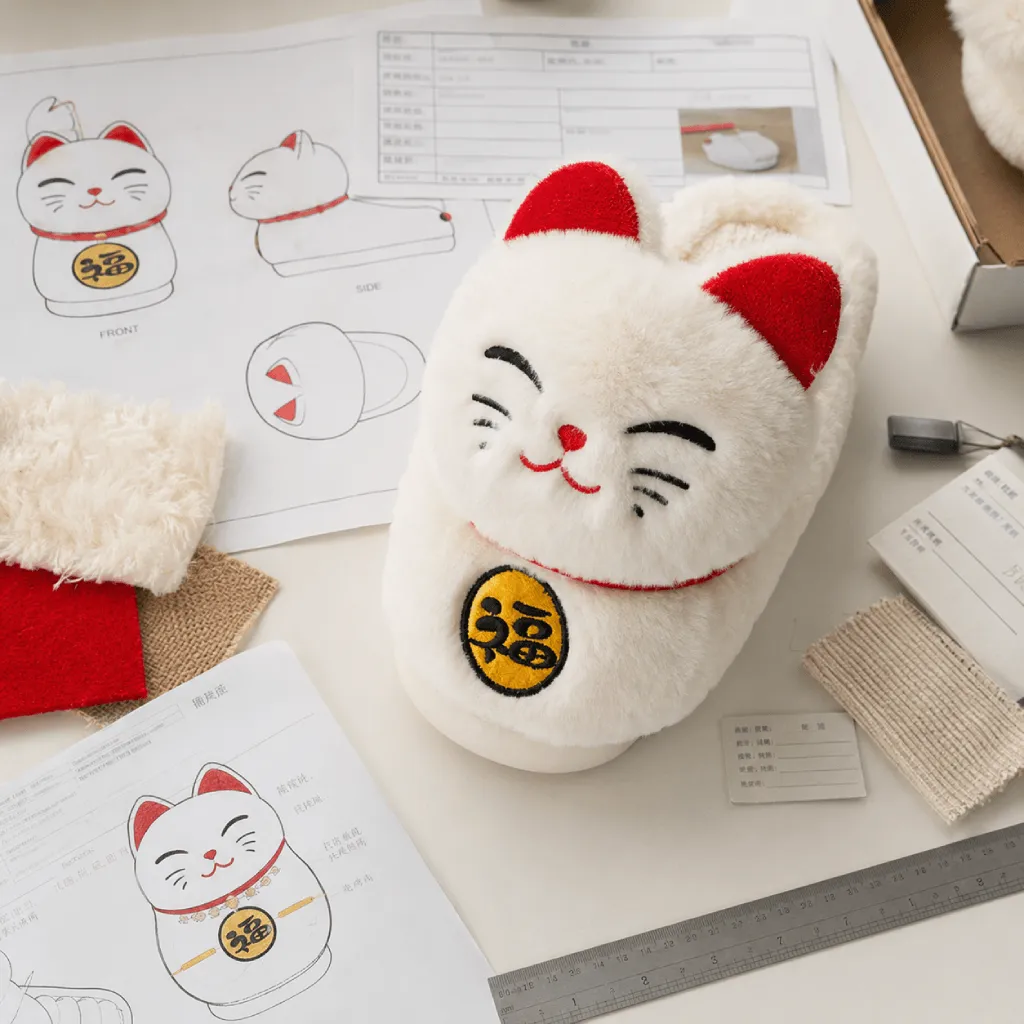
Custom logo slippers can look straightforward on a design board, but the final result depends on more than placing artwork on an existing shoe. The upper material, logo size, application method, color reference, position, care requirement and production tolerance all affect how the branding appears on the finished pair.
For brands, retailers, wholesalers, hospitality buyers and corporate procurement teams, the first decision should not be “embroidery or printing?” The useful starting point is to define what the logo must communicate, where it will appear, how the slipper will be used and which details must remain consistent throughout a bulk order.
This guide compares seven common branding directions for custom slippers with logo: embroidery, screen printing, heat transfer, woven or printed labels, insole branding, outsole branding and custom packaging. It also explains how to prepare artwork, approve a branded sample and control logo quality during custom slippers bulk production.
Buyer takeaway: approve the logo as part of the complete slipper. A method that looks precise on a flat swatch may behave differently after the upper is cut, stitched, lined, shaped and assembled.
Specification boundary: there is no single best branding method for every slipper. Feasibility and appearance depend on the artwork, material, construction, placement, production quantity and buyer-approved reference. Color and durability requirements should be confirmed for the specific project rather than described with absolute guarantees.
For a broader view of available development steps, visit UTOP’s custom slipper development services. Buyers building a complete inspection plan can also use the Footwear Quality Control Guide for Bulk Slipper Orders.
Written by the UTOP Slippers Sourcing Team, with product-development and quality-control input from our indoor slipper team.
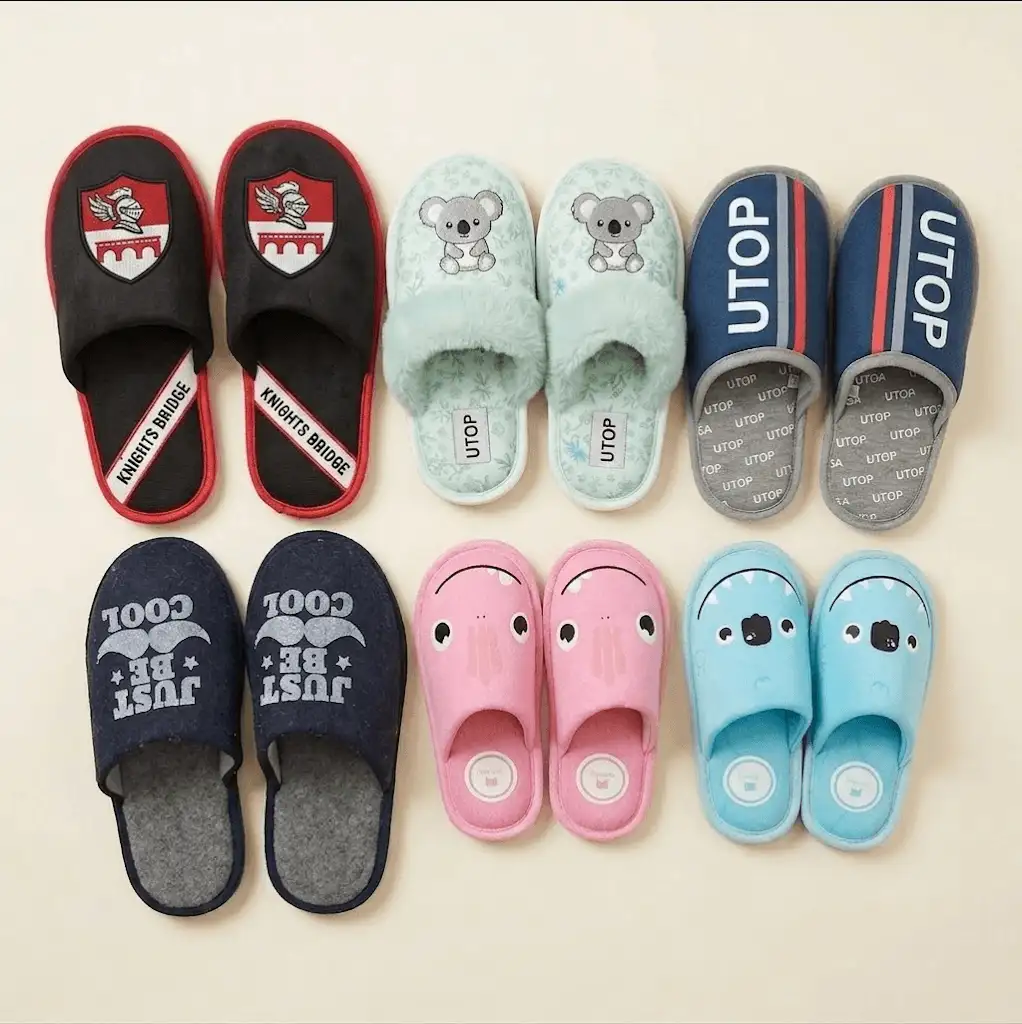
1. Define the Branding Requirement Before Selecting a Method
The branding process for custom logo slippers should begin with the commercial objective. A small hotel monogram, a retail fashion graphic and a corporate-event logo may all require different materials, positions and production controls.
Before requesting a quotation, define the following five decisions:
| Buyer decision | What to define | Why it matters |
|---|---|---|
| Target channel | Retail, hospitality, corporate gifting, promotional use or private label | Influences the expected appearance, packaging and inspection standard |
| Logo purpose | Primary brand mark, decorative graphic, size label, hotel identity or campaign artwork | Determines the required visibility and level of detail |
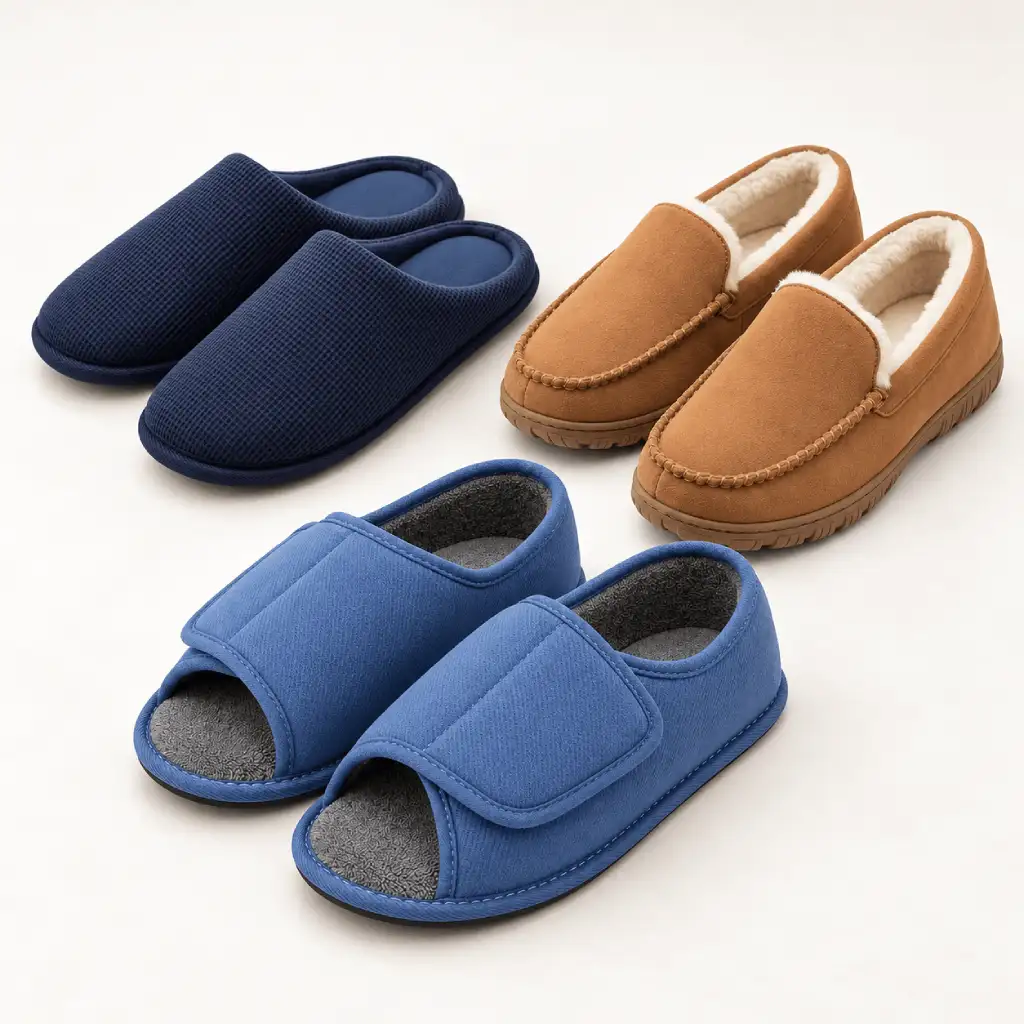
| Slipper construction | Open toe, closed toe, mule, bootie, house shoe or hotel slipper | Controls the usable branding area and how the upper moves during assembly |
| Required appearance | Raised, flat, subtle, tonal, multicolor, photographic or highly visible | Helps separate embroidery, printing, label and molded-logo directions |
| Care and use conditions | Expected cleaning method, abrasion exposure, packing and target use | Allows the supplier to review the proposed application under relevant conditions |
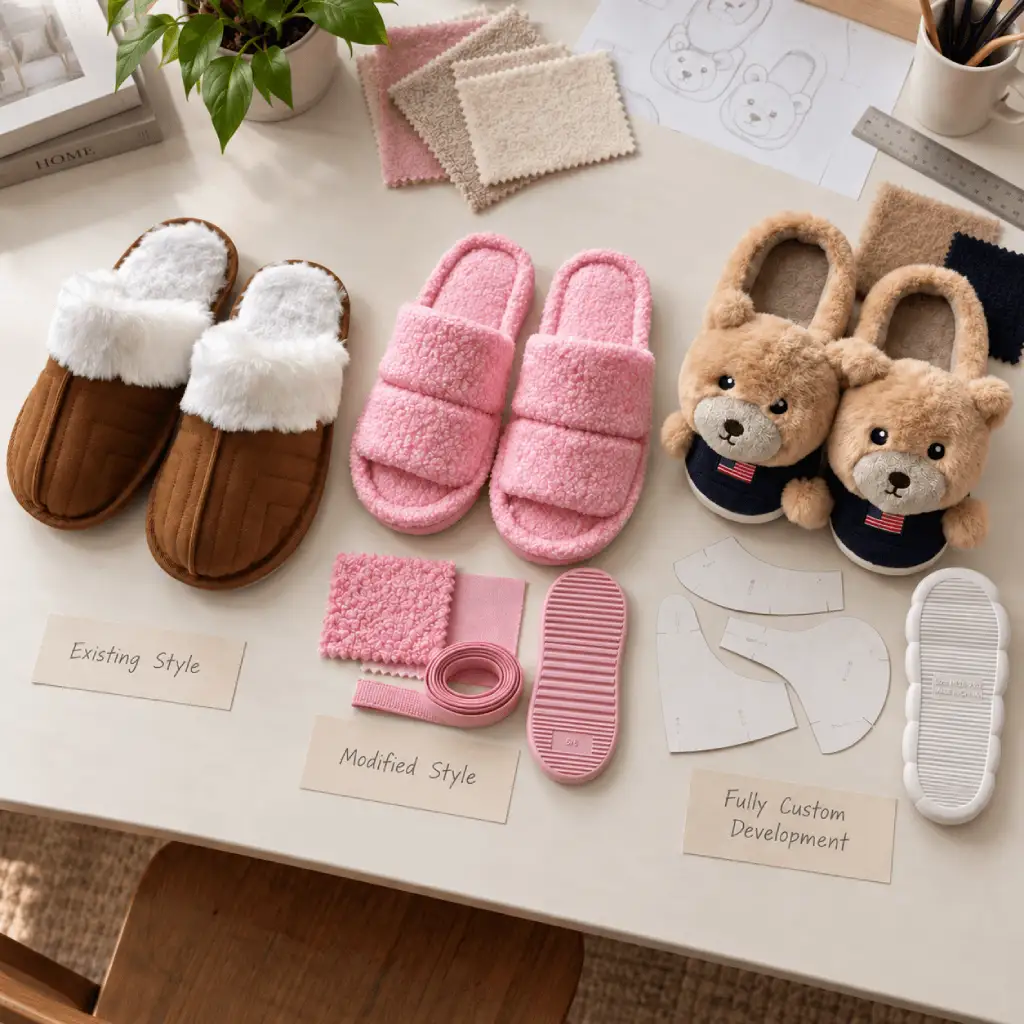
A buyer sourcing custom branded slippers should also identify which elements must remain fixed and which can be adjusted during sampling. For example, the brand color may be fixed while the logo size can be simplified to improve embroidery clarity.
Working rule: describe the branding objective before naming the process. This gives the product-development team room to recommend a method that fits both the artwork and the slipper construction.
2. Choose Where the Logo Will Appear
Branding is not limited to the center of the vamp. Slippers with company logo can use one prominent position or several coordinated touchpoints across the product and packaging.
| Logo position | Common branding direction | Buyer checks |
|---|---|---|
| Vamp or upper | Embroidery, screen printing, heat transfer or patch | Visible area, curvature, seam allowance, pile direction and foot symmetry |
| Side seam or opening | Woven label, printed label or small tab | Label size, fold type, seam position and skin-contact risk |
| Insole or footbed | Printed logo, woven label or branded insole cover | Surface texture, abrasion, alignment and readability after wear |
| Outsole | Molded, embossed, debossed or printed mark | Tooling requirement, tread interference, scale and ground-contact wear |
| Care or size label | Printed or woven label | Required information, target-market rules, language and attachment method |
| Packaging | Hangtag, belly band, polybag print, sticker, insert card or box | Barcode, warning, legal copy, color, material and packing sequence |
Placement should be reviewed on the actual pattern rather than judged only from a product photograph. The logo needs sufficient distance from seams, binding, folds and high-curvature areas. Its visual center may also need adjustment because a slipper upper is not always symmetrical when laid flat.
Placement rule: record the logo position from agreed reference points on the pattern or finished sample. Instructions such as “centered on the upper” are often too vague for repeatable bulk production.
3. Compare Seven Branding Methods for Custom Logo Slippers
The following methods cover the main branding directions buyers may consider when developing custom logo slippers. They are not interchangeable, and final feasibility should be confirmed against the selected upper, lining, outsole, artwork and construction.
| Branding method | Typical appearance | Suitable artwork direction | Main approval points |
|---|---|---|---|
| 1. Embroidery | Raised and tactile | Text, monograms and simplified logos | Stitch file, density, thread color, size and puckering |
| 2. Screen printing | Flat printed surface | Solid-color graphics and repeated designs | Ink system, opacity, curing, hand feel and adhesion |
| 3. Heat transfer | Flat applied graphic | Fine detail, multiple colors or certain complex graphics | Transfer type, edge quality, temperature, pressure and flexibility |
| 4. Woven or printed label | Separate branded component | Small identity marks, wordmarks, size and care information | Label construction, edge finish, fold, text clarity and attachment |
| 5. Insole branding | Visible inside the slipper | Brand name, size, origin or decorative mark | Position, abrasion, surface compatibility and readability |
| 6. Outsole branding | Molded, embossed, debossed or printed | Brand mark, size or proprietary tread detail | Tooling, depth, location, tread function and wear |
| 7. Custom packaging | Branding outside the product | Retail story, barcode, campaign artwork and handling information | Artwork version, dimensions, materials, legal copy and packing method |
Embroidery
Embroidery creates a raised textile surface and is frequently selected for premium-looking wordmarks, monograms and simplified icons. The artwork must be converted into a stitch file, and the final result depends on thread type, stitch direction, stitch density, backing, upper stability and logo scale.
Screen Printing
Screen printing applies ink through a prepared screen. It can be practical for repeated solid-color designs on compatible, relatively stable surfaces. Each color and layer must be considered in the printing setup, while ink opacity, curing and fabric movement affect the final appearance.
Heat Transfer
Heat transfer uses controlled temperature, pressure and time to apply a prepared graphic. It can reproduce details that may be difficult to express through stitches, but the transfer film, adhesive system, fabric surface and care conditions must be reviewed together.
Woven and Printed Labels
A separate label can carry branding without placing the main logo directly on a difficult upper. Woven labels provide a textile structure, while printed labels can handle small text or information differently. The buyer should confirm label size, folding, edge finish, attachment and whether the label may contact the foot.
Insole Branding
Insole branding keeps the upper visually clean while adding a brand touchpoint inside the slipper. The logo must be evaluated on the actual insole cover because pile, coating, surface texture and repeated foot contact can influence clarity and wear.
Outsole Branding
A logo may be incorporated into a molded outsole or applied through another approved process. Custom outsole shapes, tread patterns or molded brand marks can require dedicated tooling. Logo depth and position should not interfere with the intended tread or ground-contact design.
Custom Packaging
Packaging can carry detailed graphics that are unsuitable for the slipper itself. Hangtags, belly bands, stickers, printed bags, inserts and boxes may also communicate size, care, barcode and retail information. Packaging artwork should be controlled as carefully as the product logo because outdated barcodes or copy can stop an otherwise acceptable order from shipping.
Selection rule: use the product for the branding that must remain attached to the slipper, and use packaging for information or graphics that need more space. A coordinated combination is often more practical than forcing every brand element onto the upper.
4. Match the Branding Method to the Slipper Material
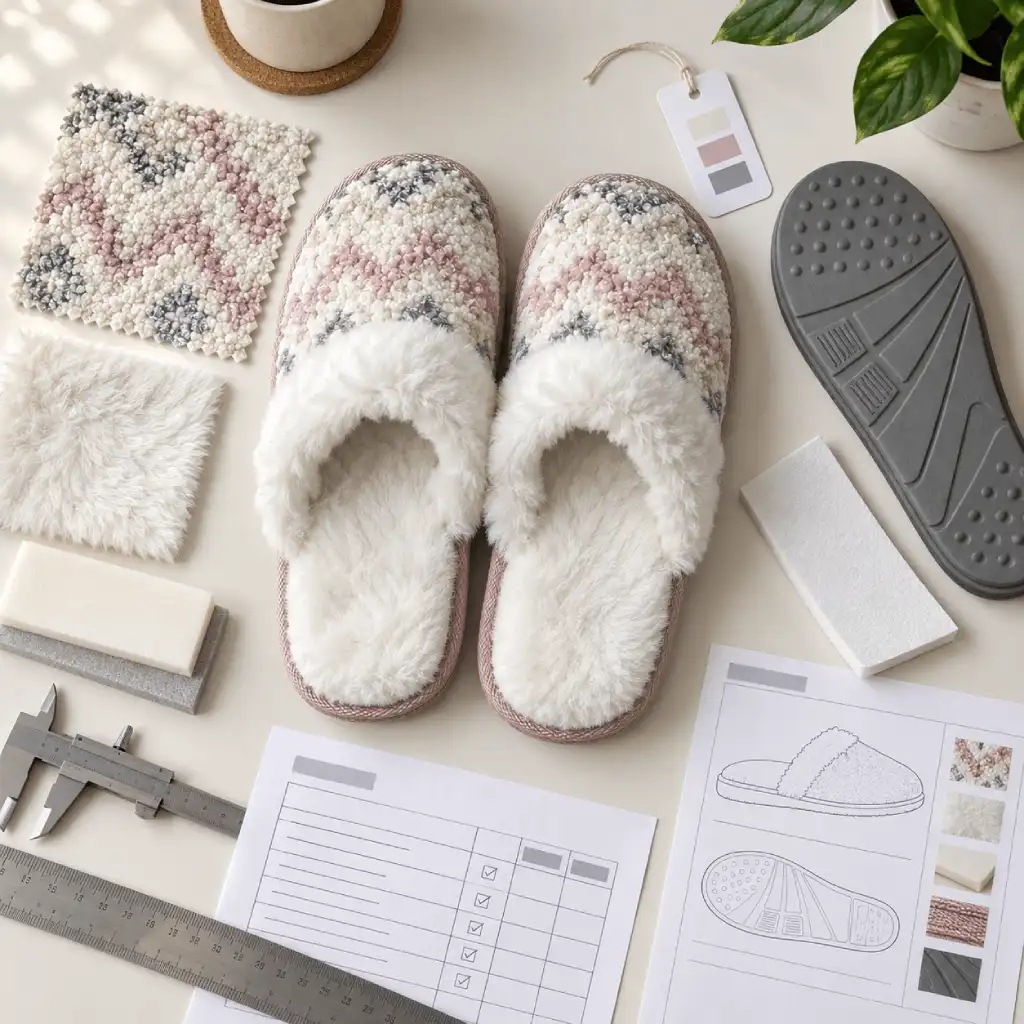
The same artwork can produce different results on different materials. A method approved on a flat woven textile should not automatically be transferred to faux fur, terry, knitted fabric or a coated insole surface.
| Material direction | Branding consideration | Sampling focus |
|---|---|---|
| Flat woven or smooth textile | Often provides a more stable surface for printing or controlled embroidery | Edge definition, opacity, hand feel and fabric distortion |
| Synthetic suede or similar short-surface material | Can show detailed branding, subject to finish and application compatibility | Surface marking, color change, adhesion and stitch perforation |
| Terry or short pile | Texture may partially interrupt small printed or embroidered details | Logo scale, pile direction, coverage and readability |
| Long plush or faux fur | Pile can obscure fine lines and small text | Simplified artwork, stitch height, patch options and pile recovery |
| Knitted fabric | Stretch and dimensional movement may affect alignment | Stabilization, puckering, distortion and appearance after assembly |
| Insole cover | Repeated foot contact can change the appearance of a printed or applied logo | Abrasion direction, surface compatibility and legibility |
Color also changes with the substrate. The same thread, ink or transfer may appear different against a dark upper, a textured surface or a material with visible pile. Buyers should therefore approve color on the selected production material rather than relying only on a screen preview.
For custom slippers with logo, the branding method should be sampled after the main materials are defined. Changing the upper material later can require the logo size, stitch file, ink, transfer or application settings to be reviewed again.
Material rule: compare the finished branded component with the approved sample under consistent viewing conditions. The material is part of the color and appearance result, not merely a background.
5. How to Specify Custom Embroidered Slippers
Custom embroidered slippers are often chosen when the buyer wants a tactile, textile-based brand mark. Embroidery can be effective for wordmarks, initials and simplified graphics, but it should not be treated as automatically suitable for every small detail or soft upper.
The starting artwork is digitized into a machine-readable stitch file. Digitizing determines stitch direction, sequence, density, underlay and other details that influence coverage and stability. A visually accurate vector logo can still need adjustment before it becomes an effective embroidered design.
What Buyers Should Specify
- Finished logo width and height
- Approved placement and orientation
- Thread color reference and acceptable visual comparison
- Flat or dimensional appearance where applicable
- Minimum readable text and acceptable simplification
- Backing or stabilization direction where required
- Approved upper material and color
- Care requirements relevant to the final slipper
What to Check on the Embroidery Sample
- Logo outline and letter readability
- Coverage without unnecessary stiffness
- Thread tension and loose or missed stitches
- Fabric puckering or distortion around the design
- Logo position after the upper has been assembled
- Left-right orientation and placement consistency
- Thread appearance against the actual upper color
Embroidery does not eliminate durability review. Thread, backing, fabric, stitch construction, cleaning and wear conditions all influence the result. The useful approval is the finished embroidered sample, supported by the agreed stitch file or production reference.
Embroidery rule: when artwork contains very small text, narrow gaps or complex gradients, test a simplified version instead of increasing stitch density without limit. More stitches do not automatically produce a clearer or better logo.
6. Custom Printed Slippers: Screen Printing vs Heat Transfer
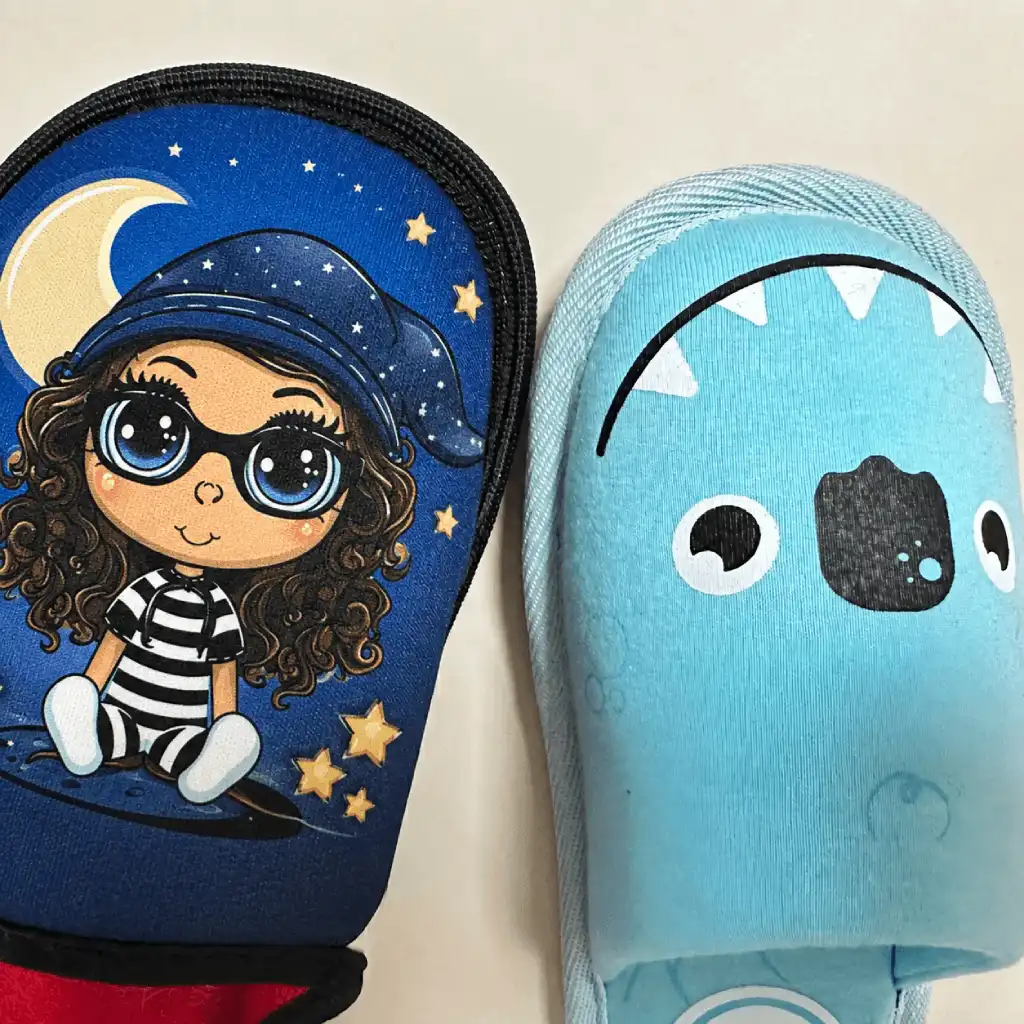
Custom printed slippers can support flat graphics, multiple colors and details that are difficult to reproduce through embroidery. Screen printing and heat transfer are separate processes, however, and should not be combined into one specification.
| Comparison point | Screen printing | Heat transfer |
|---|---|---|
| Application principle | Ink is applied through a prepared screen | A prepared graphic is transferred using controlled heat and pressure |
| Artwork direction | Often suited to repeated solid-color graphics | May support fine detail or multicolor artwork depending on transfer type |
| Surface feel | Depends on ink, layers, coverage and substrate | Depends on film, adhesive, thickness and application |
| Main process controls | Screen preparation, ink, opacity, registration and curing | Transfer type, time, temperature, pressure and peeling method |
| Common risks | Uneven coverage, registration shift, incomplete curing or excessive hand feel | Visible edges, lifting, cracking, gloss change or fabric marking |
| Approval reference | Printed production-material sample and approved artwork | Applied production-material sample and approved transfer specification |
Neither process can guarantee an identical visual result on every substrate. Ink coverage may change over textured or dark fabric, while heat and pressure can affect pile, surface gloss or dimensional stability. The selected settings should be developed around the actual production material.
Questions to Ask Before Approving Printing
- Which printing or transfer system is being proposed?
- Has it been tested on the selected upper material and color?
- How will the logo edge, opacity and hand feel be evaluated?
- Which care or abrasion checks are relevant to the intended product?
- Will the logo be applied before or after the upper component is assembled?
- Which sample will serve as the bulk-production reference?
Printing rule: do not approve a digital rendering as proof of physical color, adhesion or surface feel. Approve the application on the selected material and, where necessary, on a completed slipper.
7. Prepare Artwork, Logo Size and Color References
Clear artwork reduces interpretation during slipper logo customization. Whenever possible, provide an editable vector file such as AI, EPS, PDF or SVG with fonts outlined or supplied separately.
Adobe’s vector and raster graphics guidance explains that vector graphics can be resized without the pixelation associated with enlarging raster artwork. This makes vector files useful for adjusting logo dimensions and preparing embroidery, printing, labels and packaging.
Include These Items in the Artwork Package
- Editable vector logo and a reference PDF
- Official brand-name spelling and approved logo version
- Finished logo width and height
- Placement drawing with clear reference points
- Color reference, such as an agreed Pantone number where applicable
- Positive, reversed or single-color versions where relevant
- Minimum-size and clear-space requirements
- Packaging copy, barcode and legal information as separate approved files
A Pantone reference can provide a shared color target, but it does not create an automatic guarantee of identical appearance across thread, ink, transfer film, textile, coating and molded material. Substrate texture, gloss, opacity, dye lot, application process and viewing light can all affect the visual comparison.
For color-sensitive projects, the buyer and supplier should agree on the reference hierarchy. This may include a physical color standard, approved material swatch, branded sample and any acceptable comparison boundary required by the project.
File names and revision control also matter. A practical naming system can identify the product, logo version, colorway and approval date. Avoid sending several similar files called “final,” “final-2” and “latest,” because the production team may not know which one replaced the others.
For a wider explanation of product specifications and supplier communication, see UTOP’s tech-pack communication guide for private-label slippers.
Artwork rule: the approved file, branded sample and written specification should point to the same logo version. If one changes, review whether the other references also need updating.
8. Approve the Branded Sample Before Bulk Production
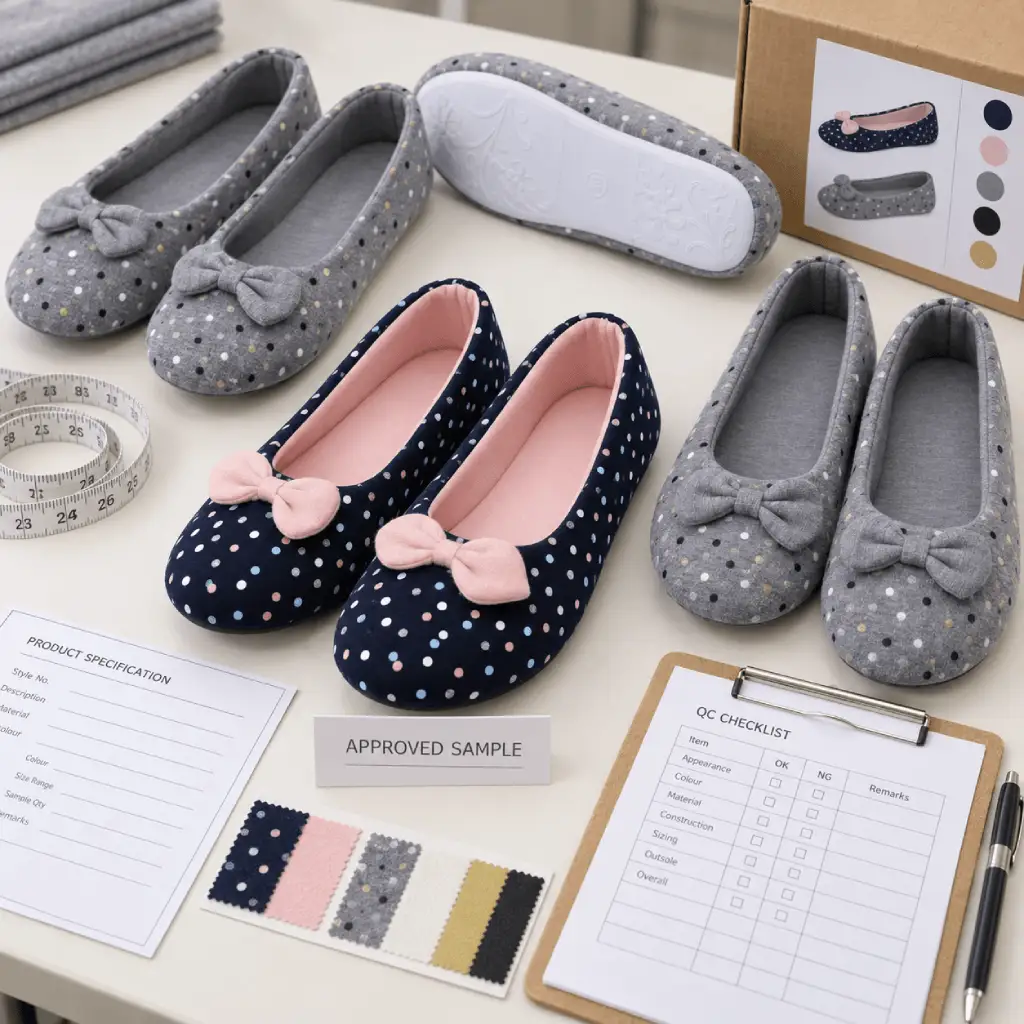
A branded sample connects the artwork with the real material, slipper construction and application process. It is the most useful reference for deciding whether custom slippers bulk production is ready to begin.
| Sample approval item | What to record | Why it matters |
|---|---|---|
| Artwork version | File name, revision and date | Prevents an outdated logo from returning to production |
| Method | Embroidery, screen print, heat transfer, label, insole, outsole or packaging process | Separates visually similar applications with different controls |
| Logo dimensions | Finished width and height | Provides an objective size reference |
| Placement | Distance from agreed pattern or product reference points | Reduces subjective instructions such as “approximately centered” |
| Color reference | Thread, ink, transfer, label or material reference | Links the approved appearance to an identifiable input |
| Finished appearance | Edge, coverage, readability, hand feel and surface condition | Captures qualities that dimensions alone cannot describe |
| Pair consistency | Left-right position, orientation and visual balance | Confirms that the design works as a pair |
| Packaging relationship | Logo direction, barcode, insert and packing orientation | Prevents product and packaging versions from becoming misaligned |
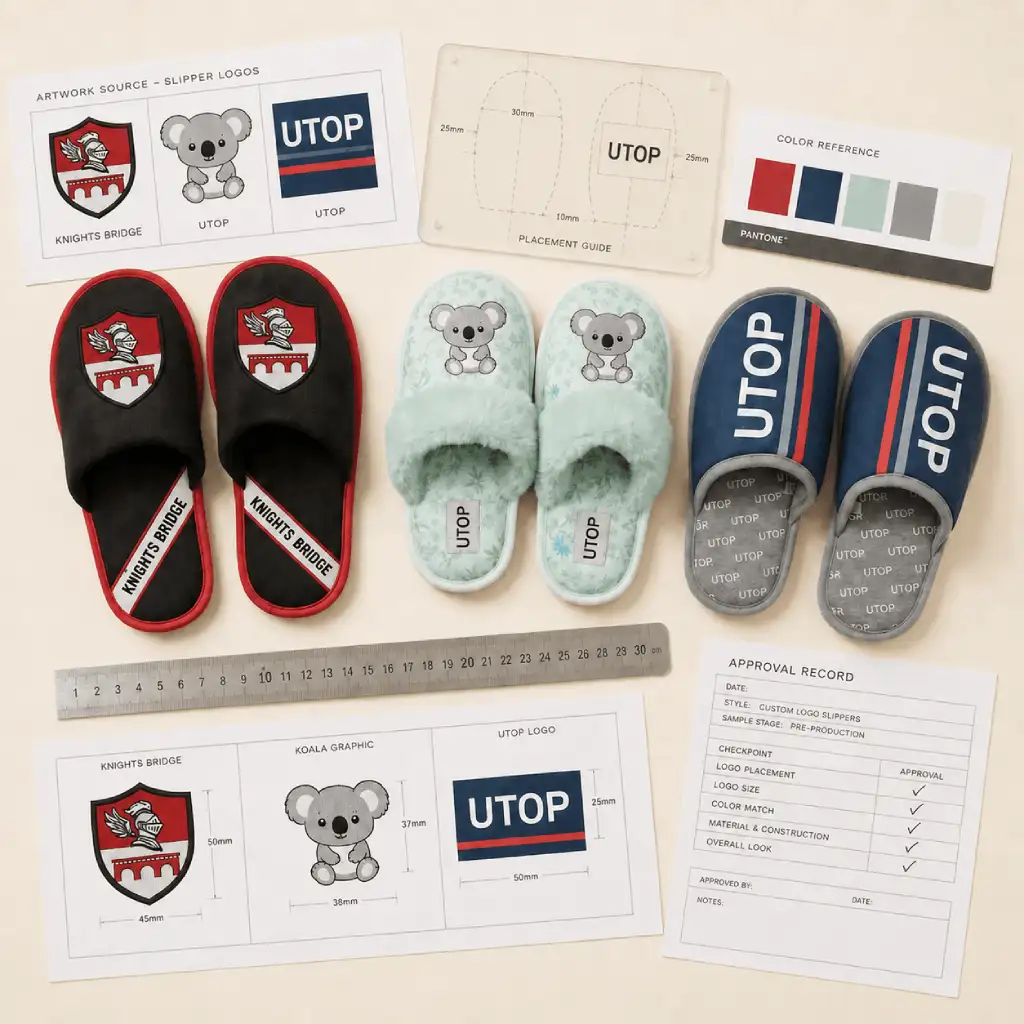
Review the Logo on the Complete Slipper
An upper component can look correct while lying flat and appear off-center after lining, stitching and assembly. For this reason, buyers should review both the branded component and the finished pair.
The approval should also account for the viewing position. A logo may need to look centered when the slipper is worn or presented on a retail shelf rather than when the upper pattern is completely flat.
Keep a Usable Approval Record
Photographs are helpful, but they should support rather than replace the physical or formally approved sample. Record the product code, colorway, size, logo version, application method, approval date and any accepted adjustment.
If the buyer later changes the upper, lining, logo size, color, packaging or construction, the supplier should review whether a revised branded sample is needed. Even a small material change can affect stitch tension, ink appearance or transfer performance.
For UTOP’s usual custom slipper projects, sampling typically takes 7–14 days. The actual schedule can vary with material preparation, outsole tooling, artwork revisions, testing, branding complexity and packaging requirements. The wider development sequence is explained in the Private Label Indoor Slippers Manufacturing Guide.
Approval rule: bulk production should follow one clearly identified branded sample and specification set. If a new version is accepted, record that it replaces the earlier reference.
9. Control Logo Quality During Bulk Production
Quality control for custom logo slippers wholesale orders should begin before the finished pairs reach final inspection. Early checks make it easier to identify whether a problem comes from artwork, material, process setup, component positioning or assembly.
| Inspection stage | Branding checks | Reference |
|---|---|---|
| Incoming components | Thread, ink, transfer, label, upper material and packaging identity where applicable | Approved component record and order specification |
| First production | Logo version, dimensions, color appearance, position, edge and surface condition | Approved branded sample |
| In-process production | Placement drift, orientation, print coverage, stitch defects, transfer edges and label attachment | First-production approval and process reference |
| Finished pairs | Left-right matching, visual balance, readability, surface damage and overall presentation | Approved finished pair |
| Packing | Logo direction, hangtag, barcode, sticker, insert, bag and box version | Approved packing sample and packing instruction |
| Final inspection | Agreed defects, sampling plan, acceptance criteria and packaging checks | Purchase specification and buyer-approved inspection requirement |
Define Branding Defects Before Inspection
A defect list should distinguish critical project issues from minor visual variation. Depending on the order, branding defects may include the wrong logo, unauthorized artwork revision, reversed orientation, missing application, major placement error, unreadable text, broken stitches, incomplete print, transfer lifting, incorrect label or mismatched packaging.
The tolerance for size and position should be agreed according to the design, application and product construction. A complex flexible textile should not be judged using an arbitrary tolerance copied from an unrelated hard product.
When final inspection uses acceptance sampling, the purchase agreement should define the method and acceptance criteria. ISO 2859-1:2026 provides AQL-indexed sampling schemes for lot-by-lot inspection by attributes. A sampling plan does not replace the approved logo, product specification or defect definitions.
QC rule: inspect against identifiable references. “Looks good” and “same as usual” are not sufficiently clear instructions for controlling a branded bulk order.
10. What to Send for a Custom Logo Slipper Quotation
A useful quotation request allows the manufacturer to review the slipper and the branding as one project. Sending only a logo file rarely provides enough information to evaluate materials, construction, application, packaging or timing.
Buyer Quotation Checklist
- Target product type and reference images
- Expected order quantity and size breakdown
- Target market and sales channel
- Upper, lining, insole and outsole requirements
- Editable logo artwork and reference PDF
- Preferred logo method and openness to alternatives
- Finished logo dimensions and intended placement
- Product color and brand-color references
- Care, performance or testing requirements
- Label, barcode, packaging and carton requirements
- Required sample and delivery milestones
- Inspection standard or buyer-specific quality requirements
The quotation should identify assumptions that can affect price or development. These may include embroidery coverage, number of print colors, transfer type, label construction, outsole tooling, packaging material and order allocation by style or color.
For UTOP’s usual custom slipper projects, sampling typically requires 7–14 days. After sample approval and other necessary approvals are complete, bulk production typically requires 30–45 days. Actual timing depends on material preparation, outsole tooling, sample revisions, testing, order quantity, branding process and packaging requirements, so each project should be scheduled individually.
Buyers evaluating a wider sourcing program can also review UTOP’s Custom Indoor Slipper Development Guide.
Quotation rule: request a project-specific quotation after the product, branding position, application method and packaging scope have been defined. The logo alone does not establish the complete manufacturing requirement.
11. Custom Logo Slippers FAQs
What is the best branding method for custom logo slippers?
There is no universal best method. Embroidery may suit a simplified, tactile logo; screen printing may suit certain solid-color graphics; heat transfer may support fine or multicolor artwork; and labels, insoles, outsoles or packaging may be better for other applications. The decision should be tested on the selected material and slipper construction.
Can fuzzy slippers be customized with a logo?
Yes, but pile height and direction influence clarity. Fine text and narrow lines can become hidden in long plush or faux fur. Buyers may need a larger simplified embroidery design, a patch, a label or another placement with a flatter surface.
Do I need a vector file for slippers with a company logo?
A vector file is strongly preferred because it supports clean resizing and technical preparation. A high-resolution raster file may be usable for certain applications, but suitability depends on the process and artwork quality.
Can a Pantone number guarantee an exact logo color?
A Pantone reference provides a shared color target, but it does not guarantee identical visual appearance across different threads, inks, textiles, transfer materials or molded components. Buyers should approve the color on the selected production material under agreed viewing conditions.
Should I approve a sample before ordering custom slippers in bulk?
Yes. The branded sample allows the buyer to review logo size, placement, color appearance, method, surface condition and the relationship between the branding and finished slipper. It should be supported by a clear approval record.
Can the logo be placed somewhere other than the upper?
Yes. Other possible positions include a side label, insole, outsole, care label, hangtag, belly band, bag or box. The best position depends on visibility, comfort, wear, construction, tooling and the amount of information that must be shown.
How long does a custom logo slipper project take?
For UTOP’s usual custom slipper projects, sampling typically takes 7–14 days. Once the sample and other required approvals are complete, bulk production typically takes 30–45 days. Material preparation, tooling, revisions, testing, quantity, branding and packaging can change the schedule.
12. Turn the Logo into a Repeatable Production Specification
Successful custom logo slippers are not defined by the branding method alone. The final result comes from aligning the artwork, material, logo position, application process, sample reference, production checks and packaging version.
Begin with the commercial purpose of the product. Compare the seven branding directions against the actual slipper construction. Then approve the logo on the production material and complete sample before carrying the decision into bulk manufacturing.
Related B2B Sourcing Resources
- Private Label Indoor Slippers Manufacturing Guide
- Tech-Pack Communication for Private Label Slippers
- Footwear Quality Control Guide for Bulk Slipper Orders
- Custom Indoor Slipper Development Guide
Planning a custom logo slipper project?
Share your slipper reference, expected quantity, logo artwork, target position, materials, packaging requirements and delivery plan. UTOP can review the information needed for sampling and bulk production planning.